
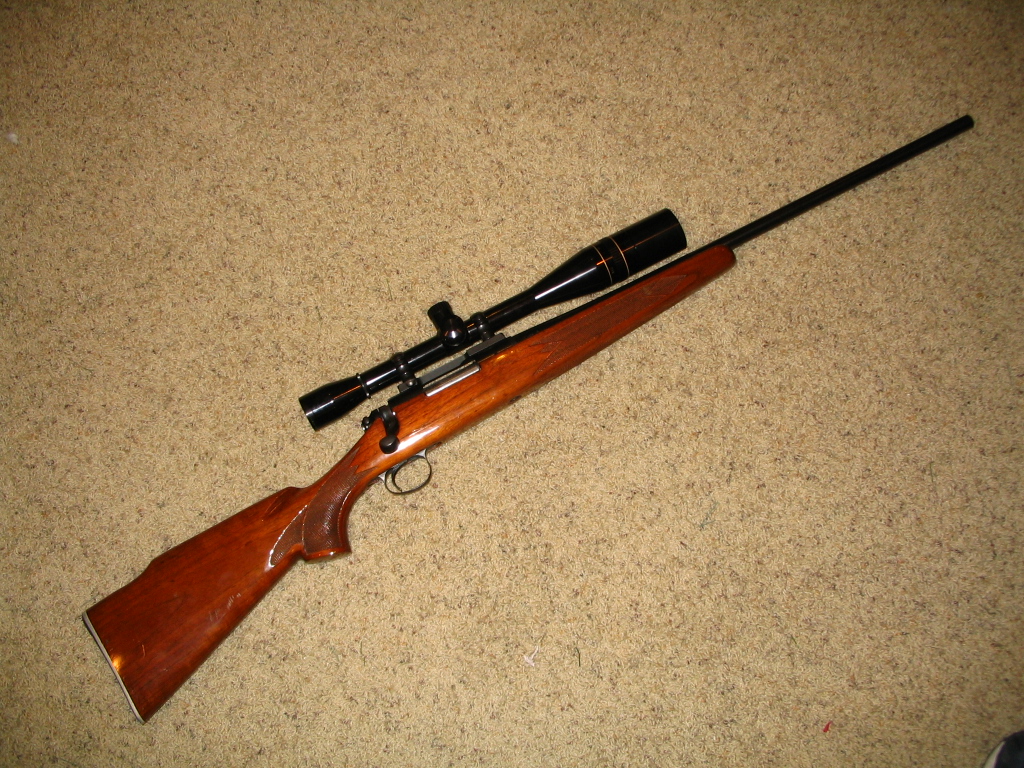
Documented here is my rebuild/rehab/overhaul of a Remington Model 700 rifle, chambered in .22-250.
At one time, this rifle shot extremely well for a factory sporter. After the first bedding job in the mid 1970s, it would shoot groups of 4 or 5 shots touching at 100 yards, from sandbags. The action and barrel were re-bedded in late ’80 and early ’81. There is a note in the record book my father kept that it wasn’t shooting as well after that, and would probably need a new load developed. Later that year my father gave the rifle to me. Since I didn’t have much opportunity to shoot it, the poor thing sat uncased in a closet or above the rafters of the basement for most of the next 20 years. In 2007 I finally found a place to go shooting on a more or less regular basis, and got the urge to do some varmint shooting as well. I put a new base & rings on the receiver and mounted the Leupold 24x scope with target turrets that had previously been on a different rifle. Unfortunately, the groups are closer to 2″ than 1″, and certainly not under MOA. Definitely not good enough for prairie dogs, and not good enough for fun at the range either.
I originally intended to mount a varmint barrel and get a new stock, probably laminated, and convert it to BDL with a hinged floor plate – mostly because most of the decent stocks I was finding were for the BDL. After doing a lot of reading on the subject, and with some sage advice from various folks on The Firing Line, I decided to try a different approach first. Assuming that the stock and/or bedding epoxy has dried and/or warped during the long storage period, I’ll strip the stock, sand it clean, re-finish it, and do a complete new pillar bedding job on the action and first few inches of the barrel. We’ll see how well that works before resorting to a new barrel.
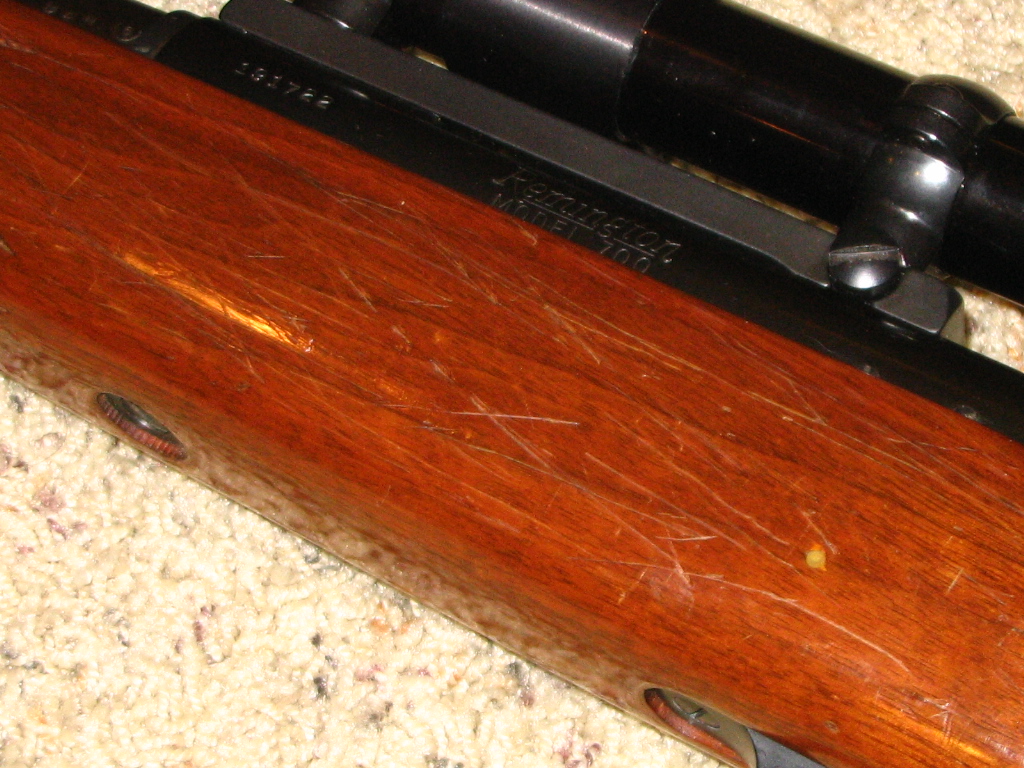
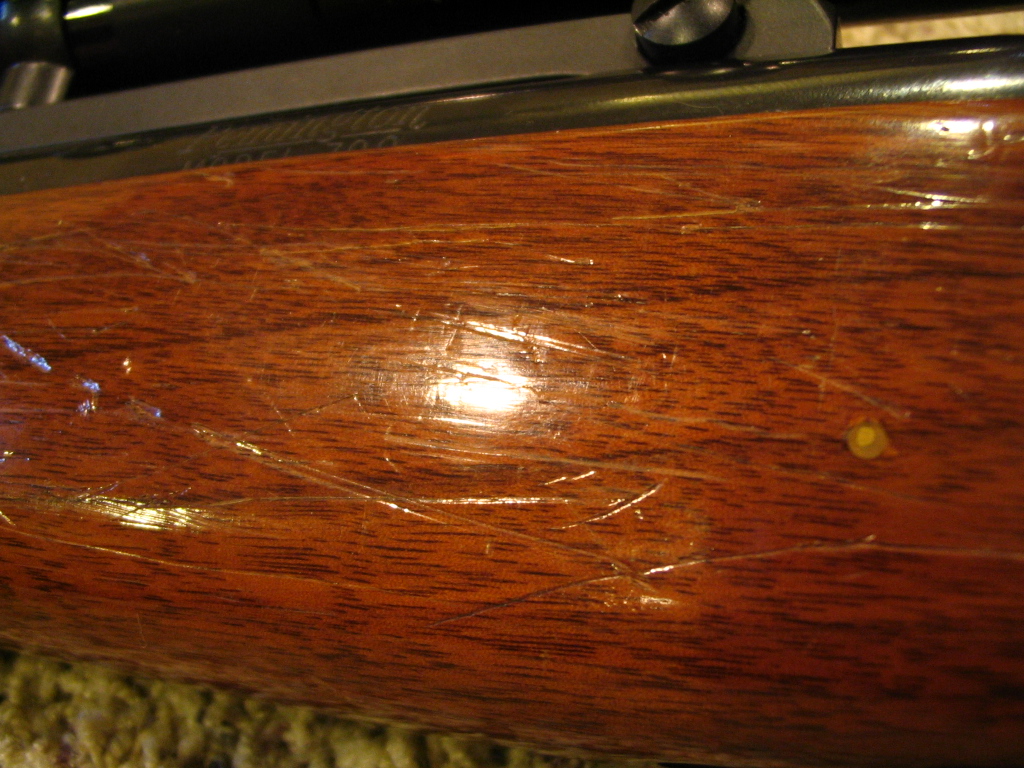
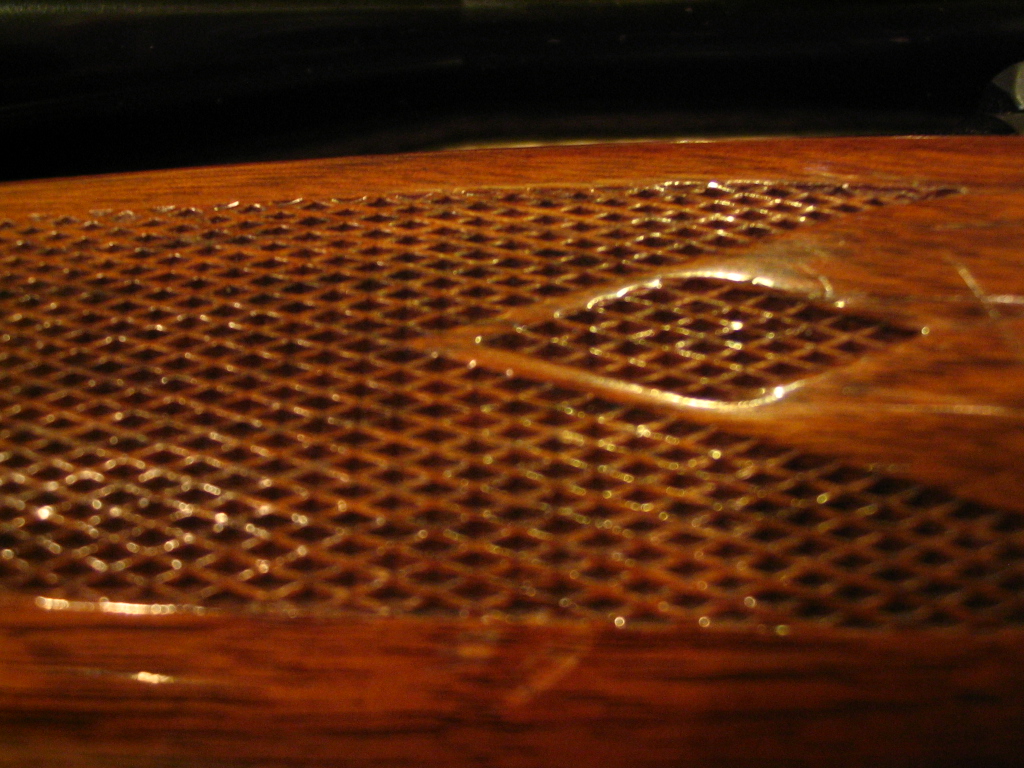
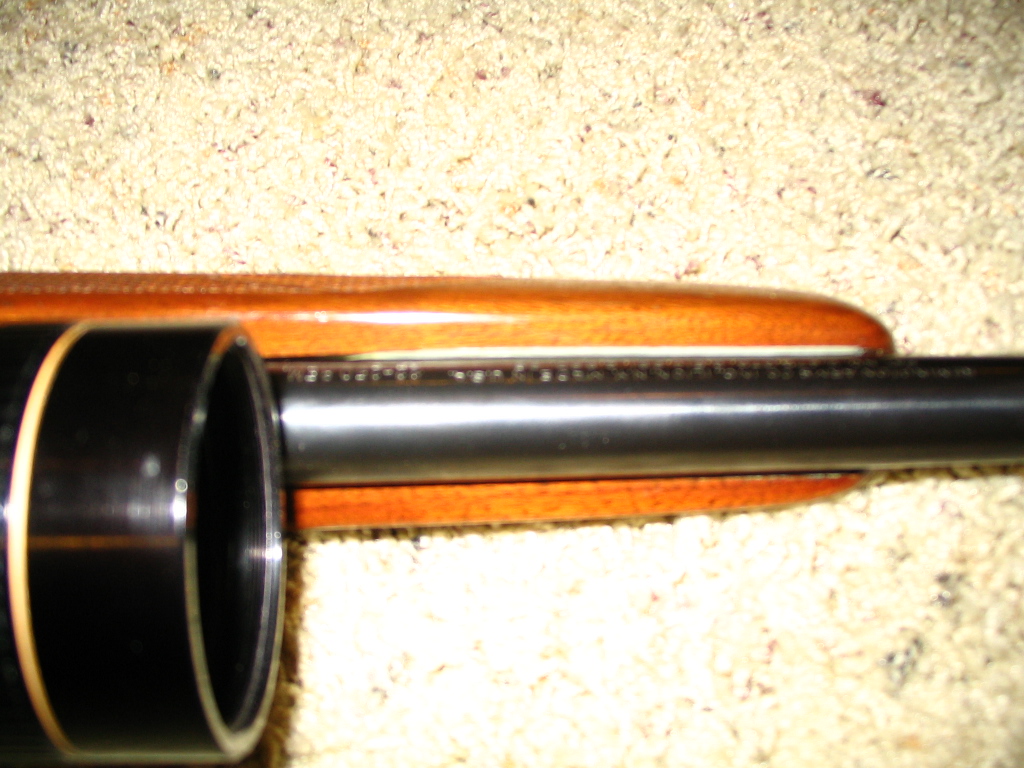
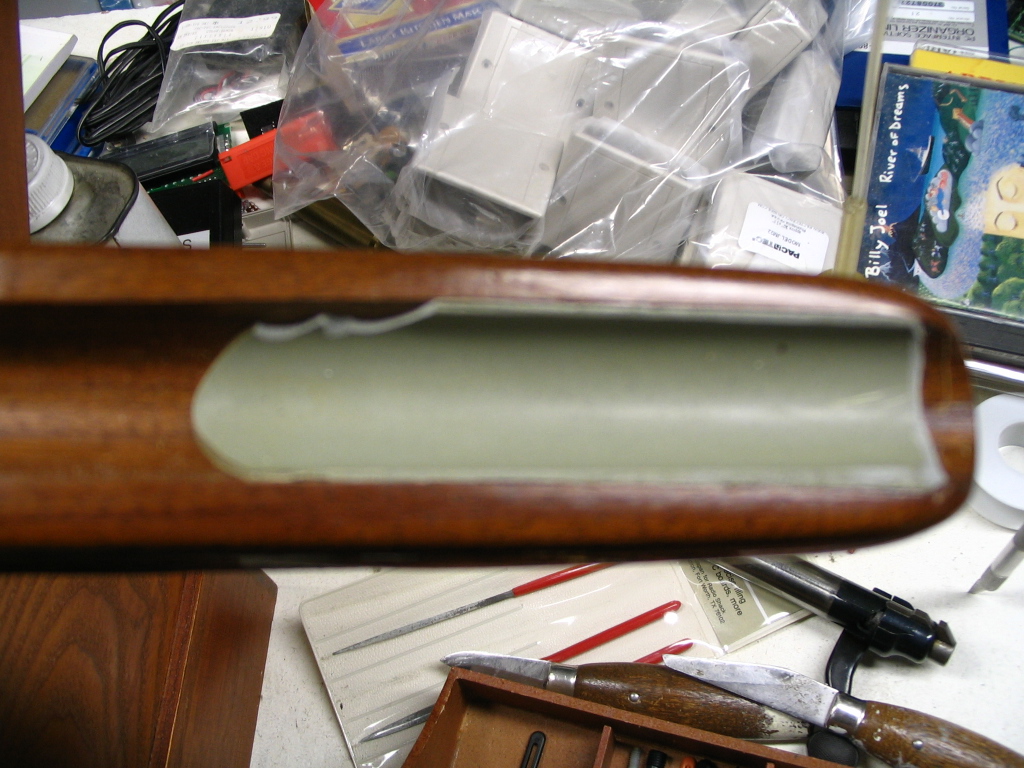
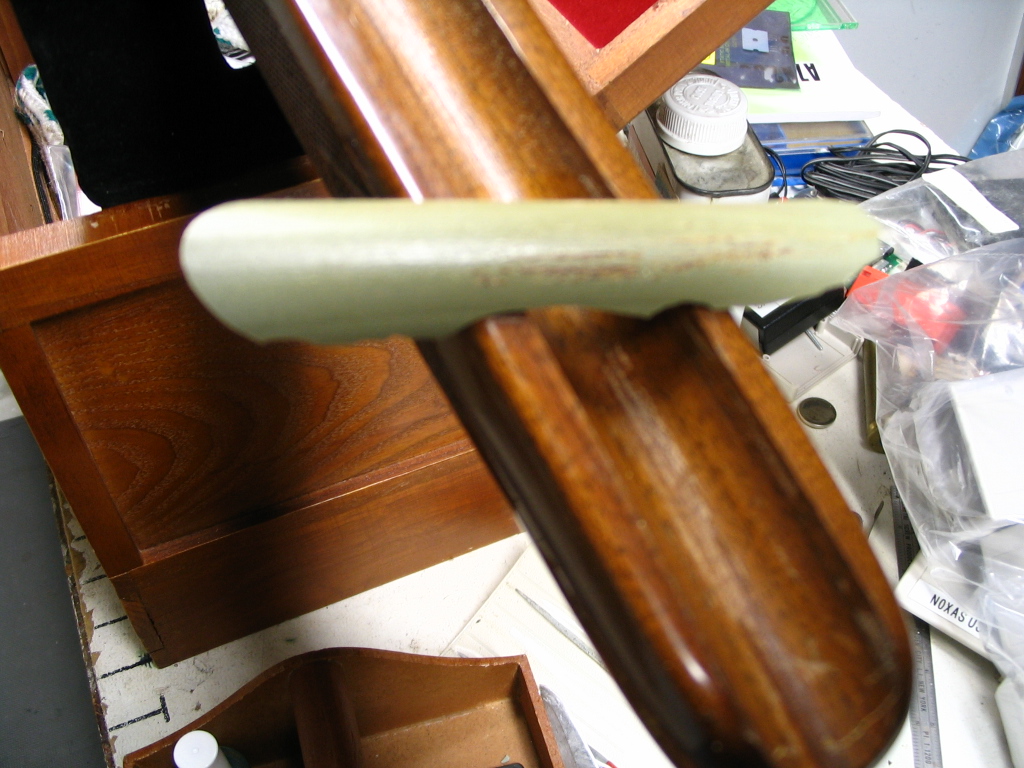
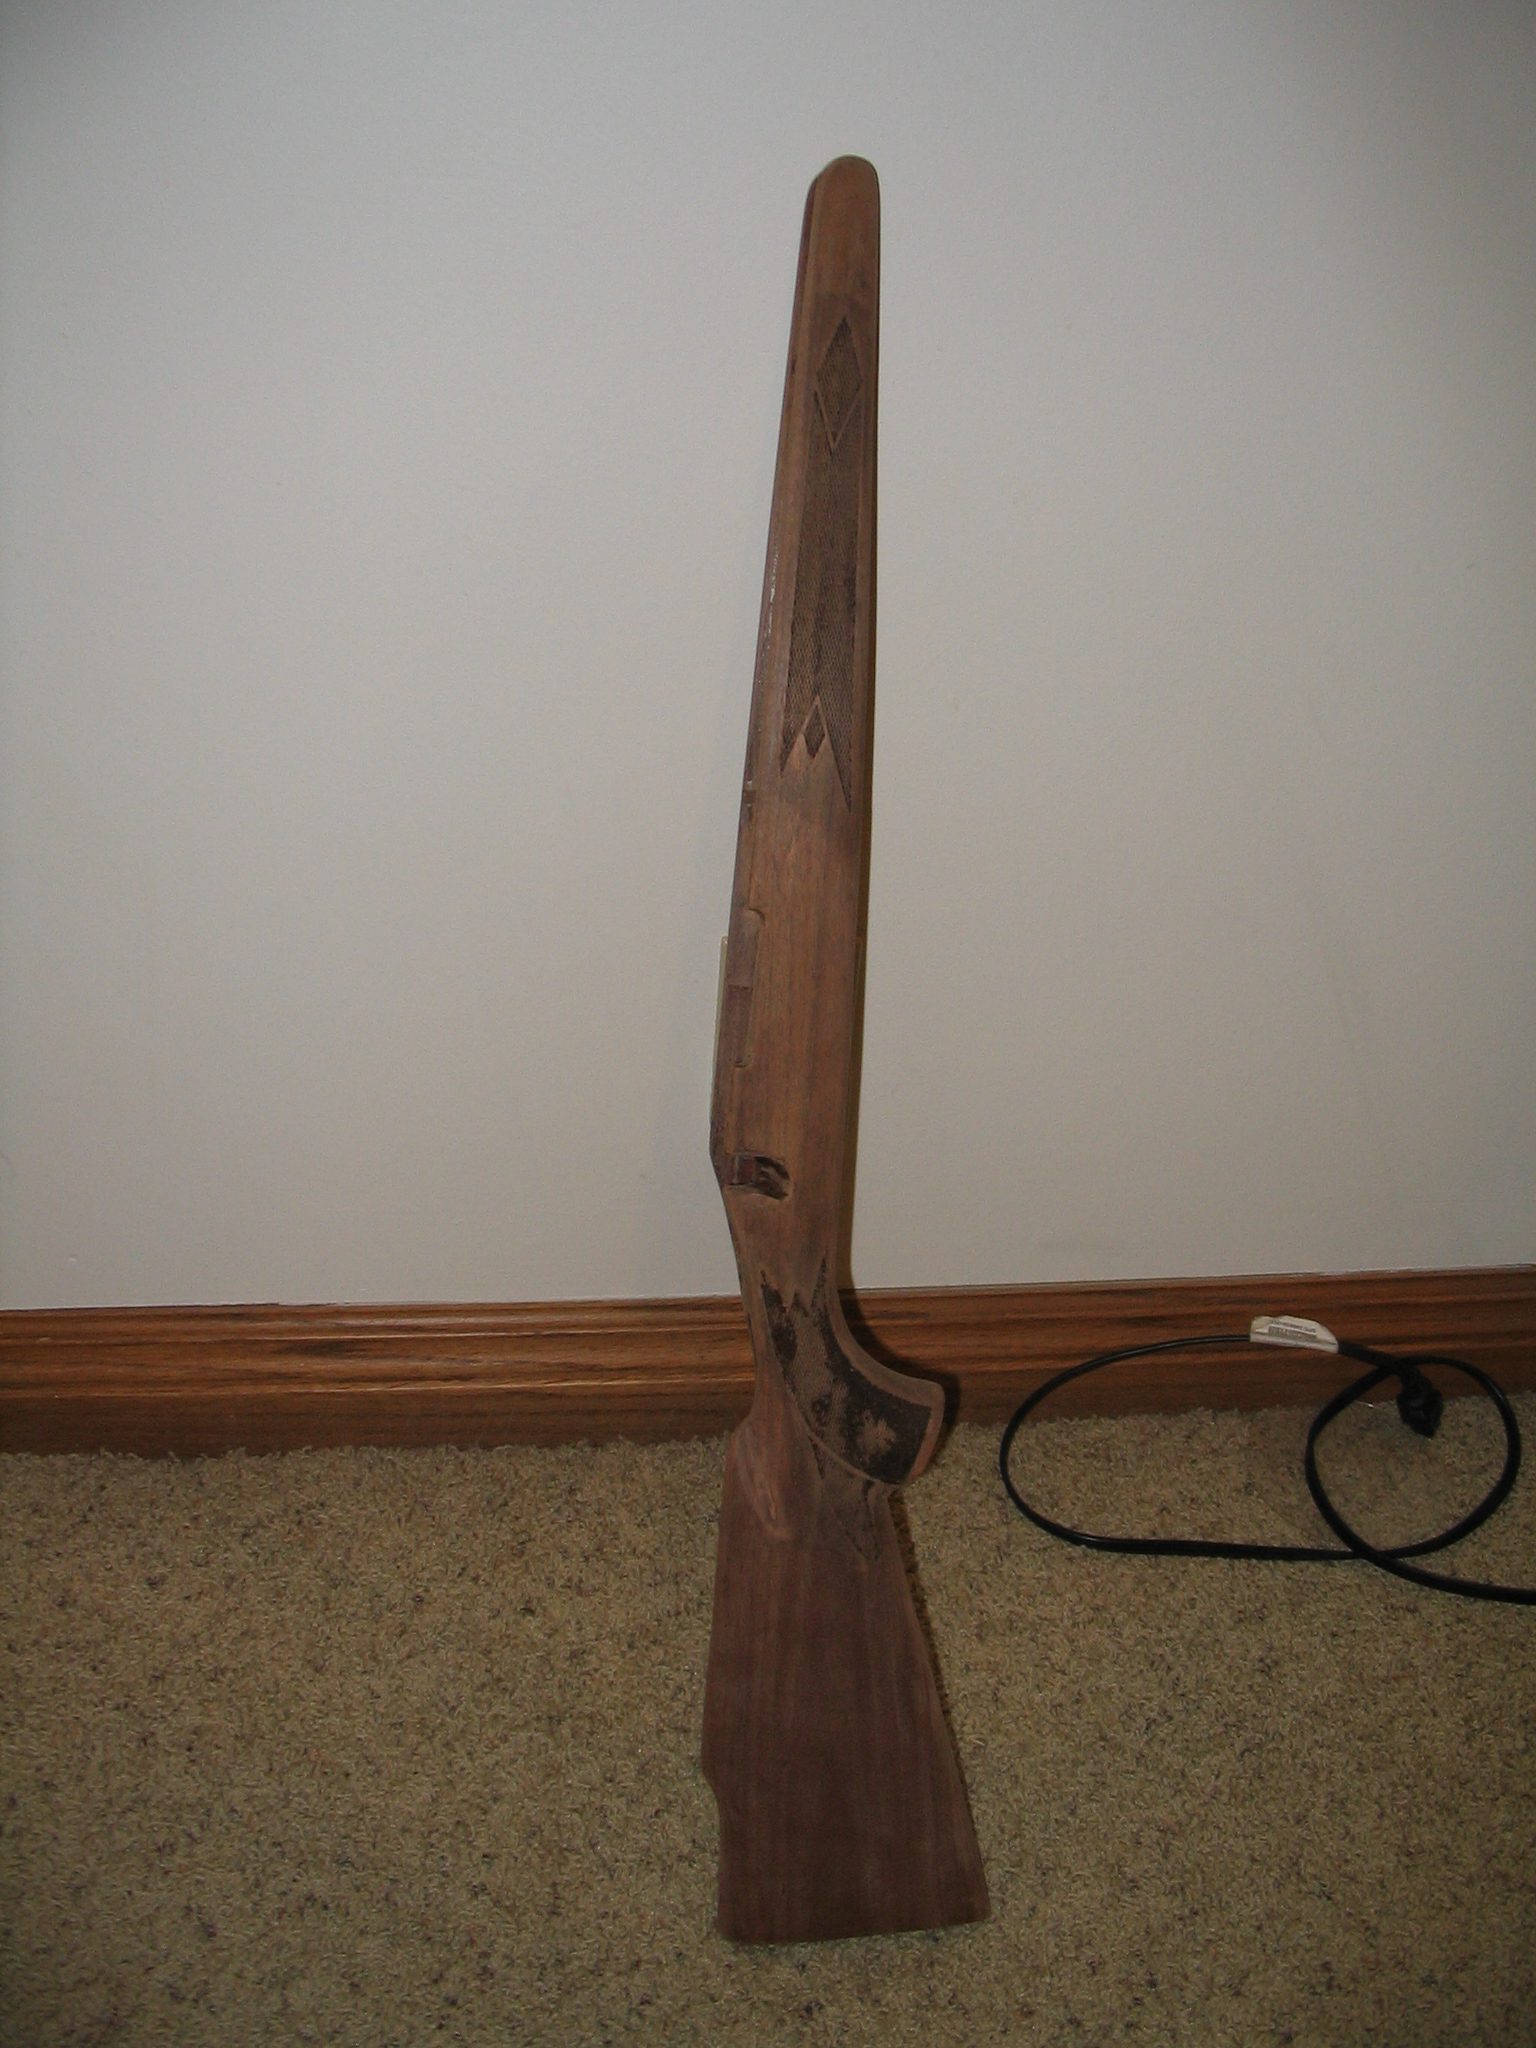
Here are some “Before” pictures. Note the condition of the stock — the sides are scratched up, especially the left side, from being stored under poor conditions without a case. The checkering is the original stamped factory job. Finish overall is a little banged up. The last shot shows the barrel bedding, a pad of epoxy out near the end of the forearm. This was from the second bedding job done in 1981. I suspect the crown may have been damaged by improper cleaning back when the rifle was being shot regularly. At some point I’ll need to get the bore scoped to make sure it isn’t pitted or showing throat or muzzle erosion; it also didn’t get cleaned or oiled regularly (if at all) for a couple of decades.
In the following pictures you’ll note that my workbench is a complete mess. It has been for quite a while, and probably will be for a long time to come.
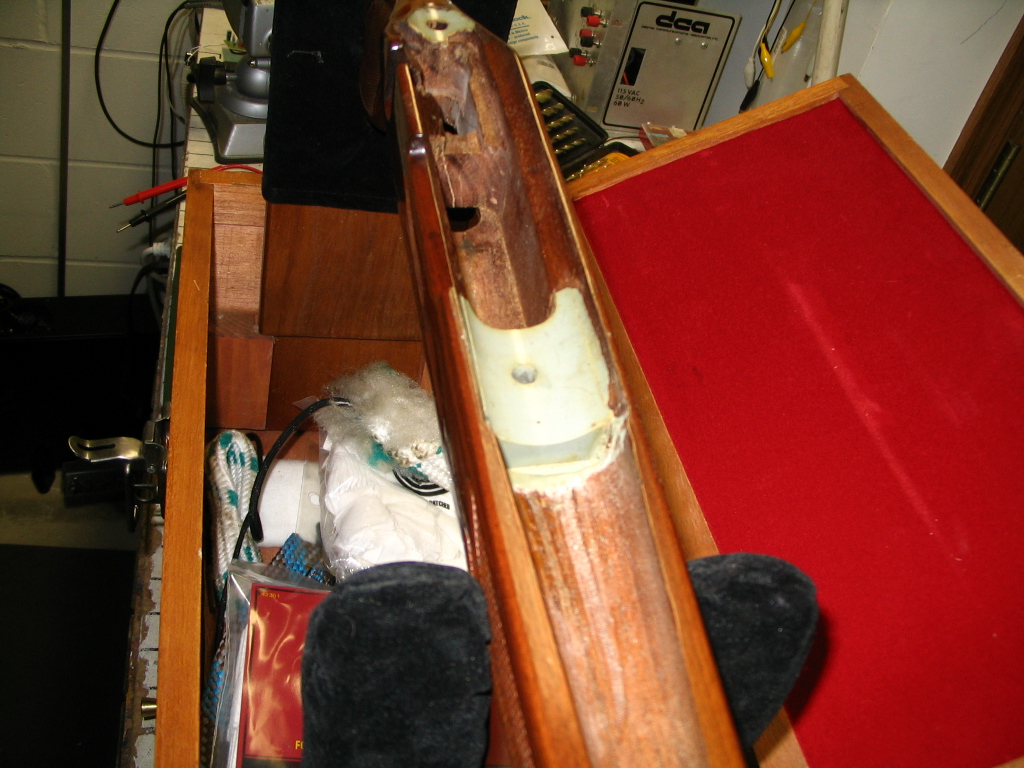
I started by removing the scope & rings, then removing the barrel and action from the stock. The next step was to remove the old bedding epoxy from the stock. The barrel bedding pad chipped a few times, then I was able to simply get under it and pop it out in one piece. The receiver bedding was more obstinate, but a Dremel with a coarse grinder bit got it cleaned out.

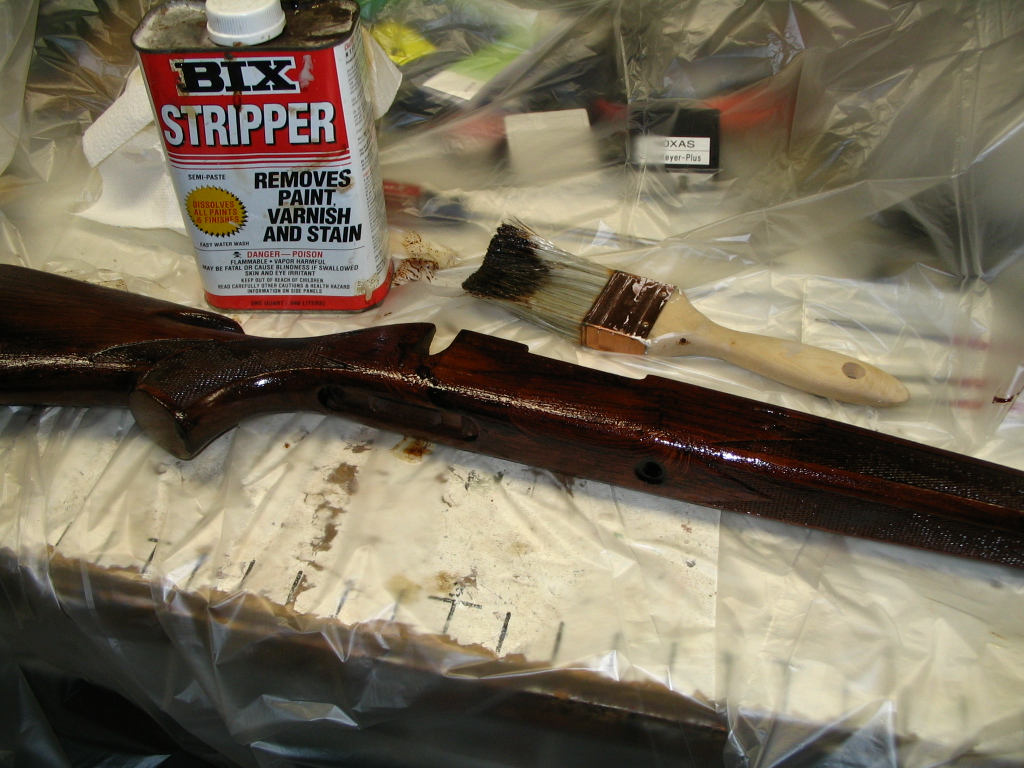
Next up: Stripping the 40+ year old varnish from the stock. I started with BIX chemical stripper. I used plastic to keep it from getting everywhere. It’s best to lay down a thick coat and just let it set for a while. It takes the stripper a while to work through the finish, but when it does it’s pretty easy to scrape off. The “checkering”, however, proved to be a bit too much of a challenge for BIX. I finally had to switch to a citrus based product (Citrustrip) that does a fantastic job. With a little bristle brush work, it got everything out of the checkering in no time. I don’t think I got pictures of that — just imagine a pristine walnut stock with no trace of finish on it. 🙂
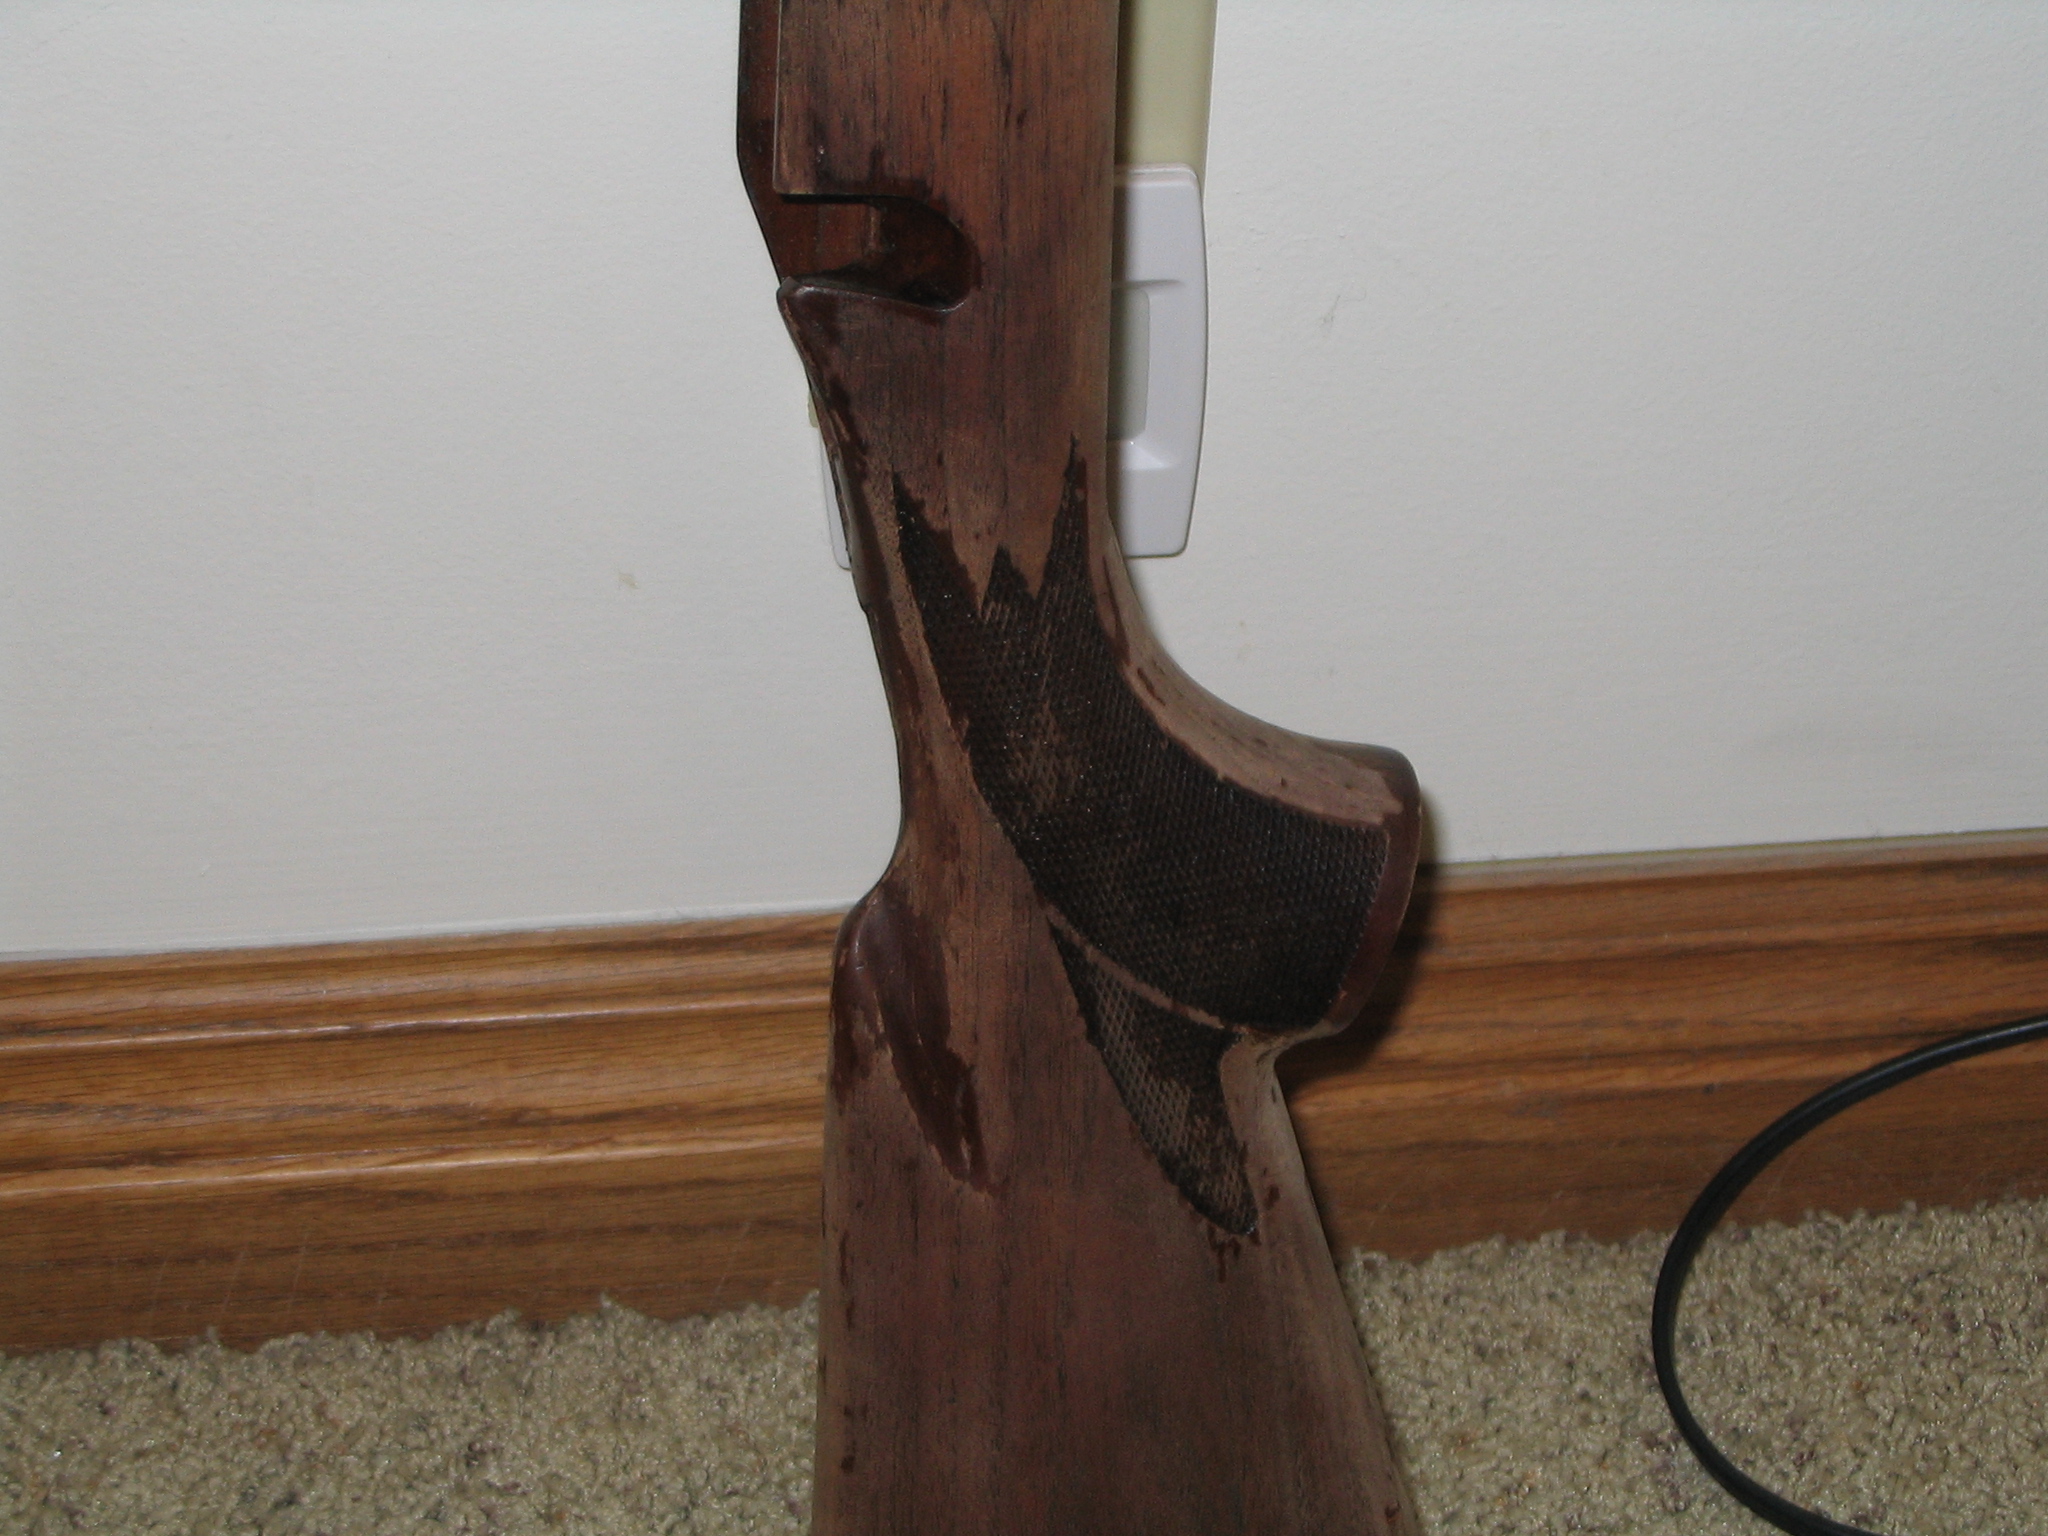
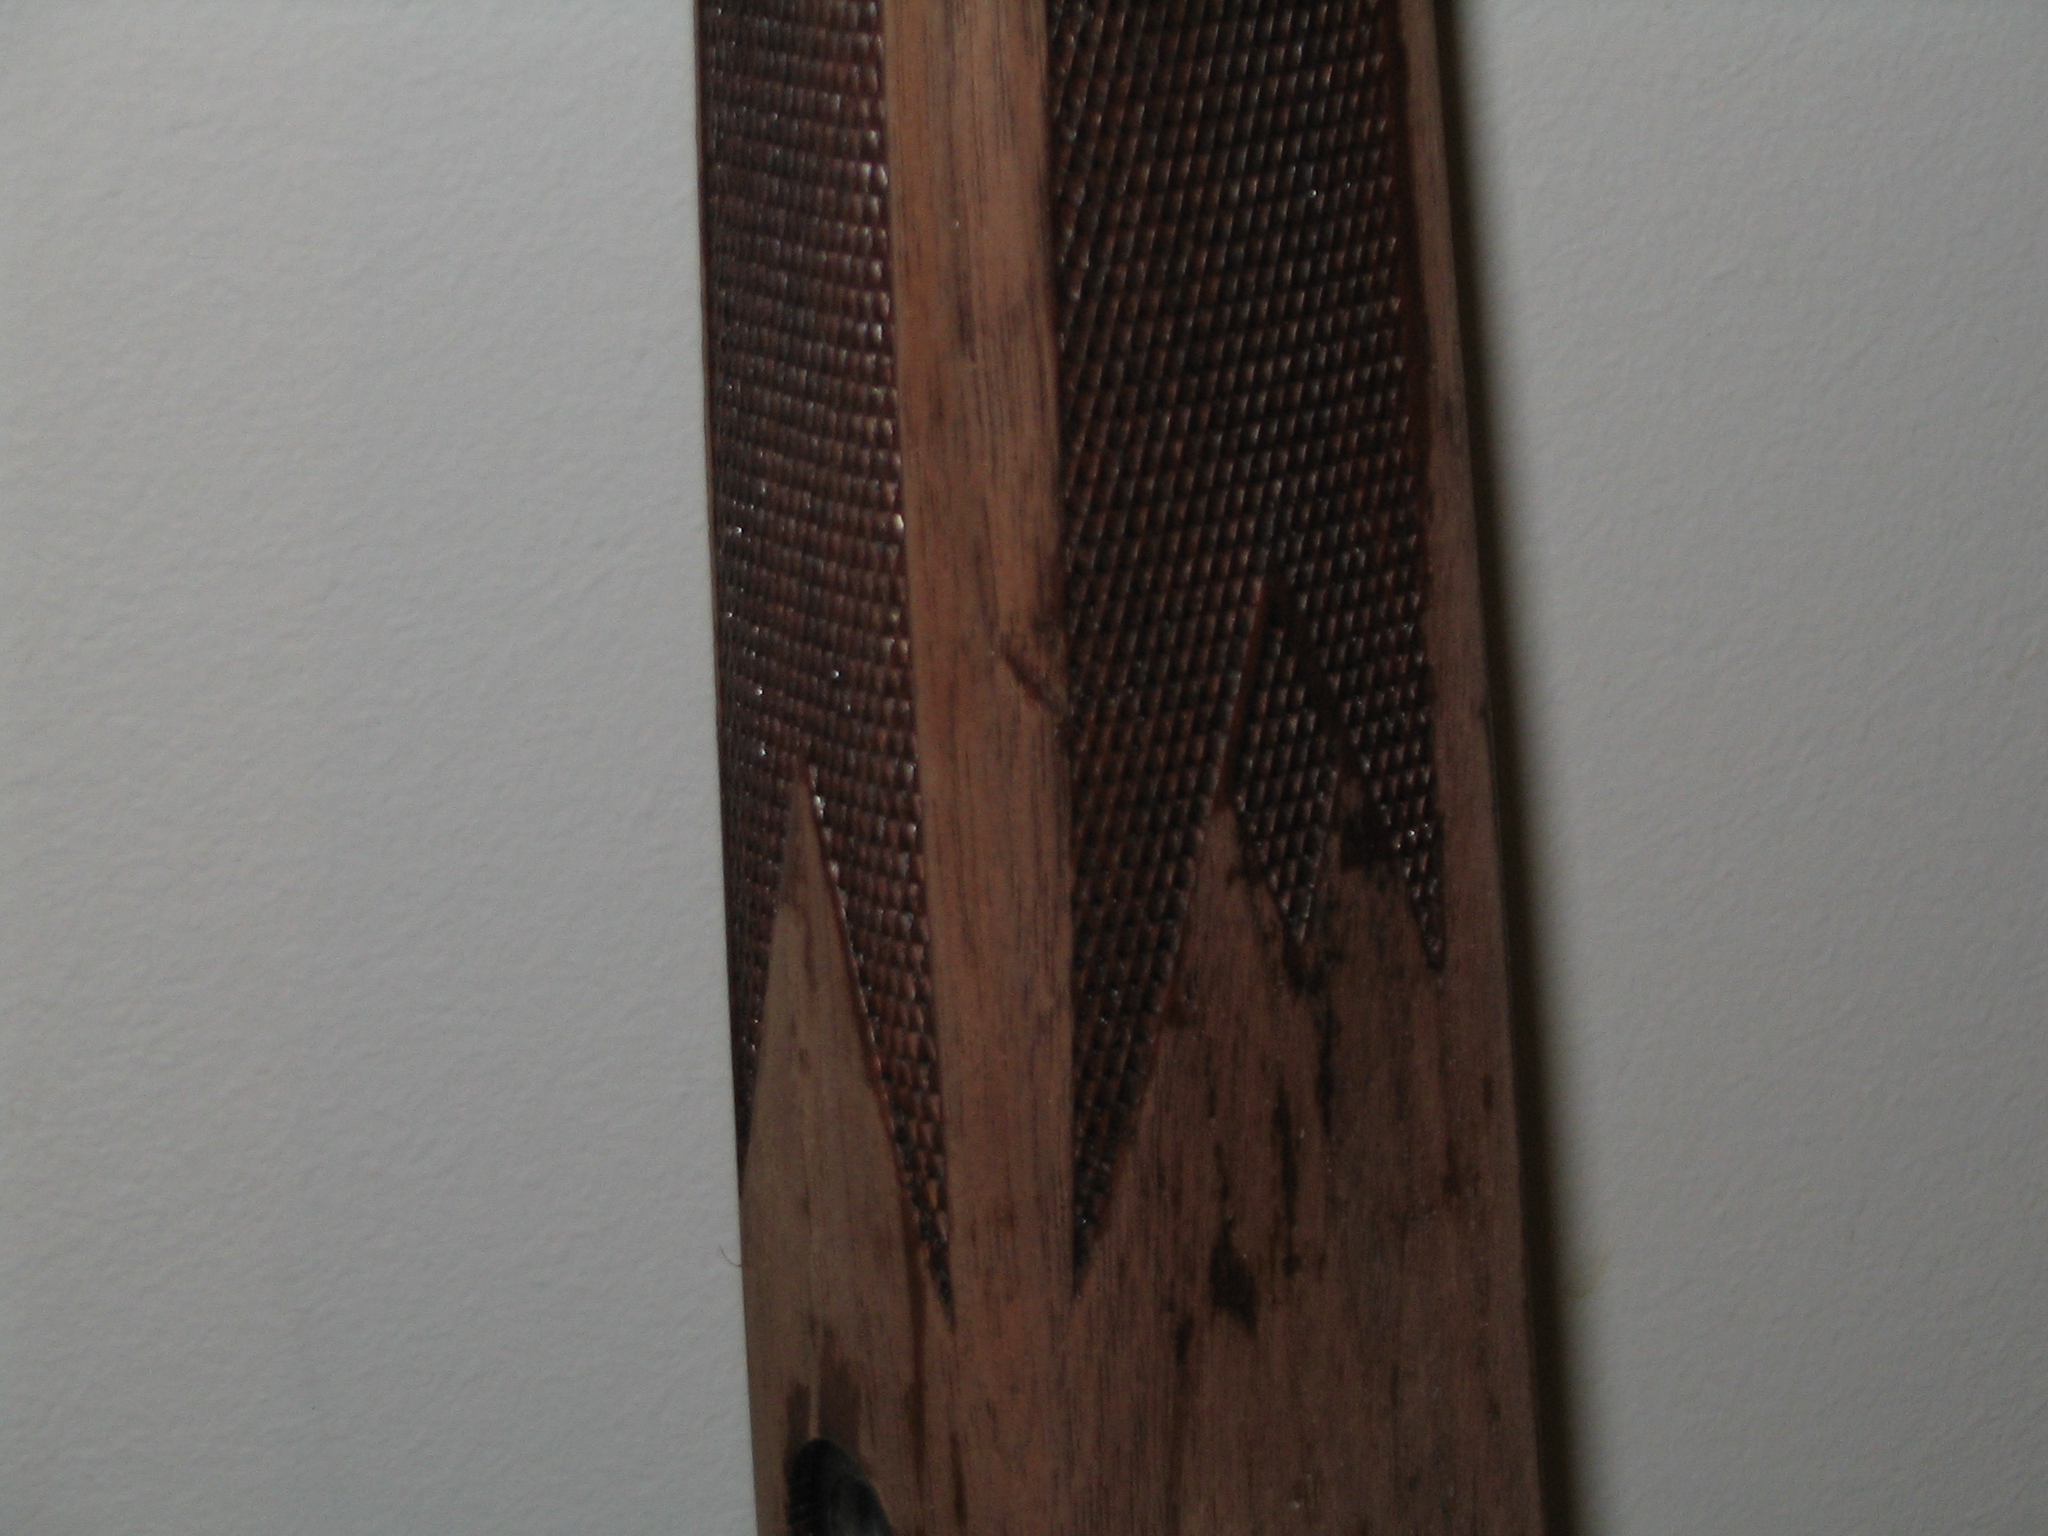

I had planned to finish the stock with boiled linseed oil, but after a couple of coats decided it was WAY too dark. I removed it with CitriStrip, which does a far, far better job than the Bix did. It even got the varnish out of the old checkering. I decided to re-cut the old impressed checkering and make it “real” checkering. I’ve never checkered before, but I was encouraged by my first section – and just as quickly DIScouraged by the next, much larger section!
I got some Lin-Speed stock finish oil from Brownell’s, along with a couple of double line cutting heads for the checkering tool. The double line heads make it SO much easier to do the checkering!! The S-1 is a very short, single line tool that’s easy to get off track. The two I got have the proper 18 line per inch spacing, with one guide cutting the the other a solid guide blade. So, as long as you have a straight index cut in each direction, you should be able to do the rest of the area without wandering off course. I’m now a LOT more confident about doing the grip panels and forend sides.
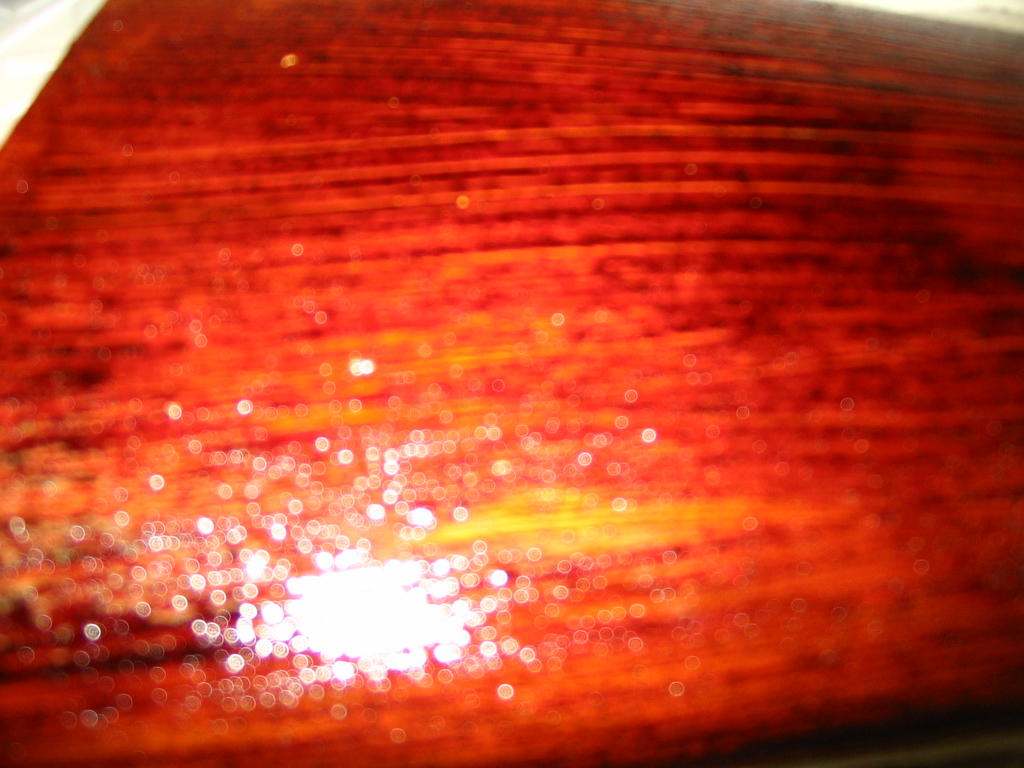
Since I’m using an oil finish, I decided to go ahead and start applying the Lin-Speed to see how it looks. The results are really, really nice. I put on half a dozen coats on, taking each one down with fine steel wool or 400 grit when it dried. Right around the cuts for the bolt handle & ejection port, as well as the little area right behind the grip and under the Monte Carlo cheek piece aren’t as smooth as I want them. Overall, though, the color is great, and the Lin-Speed seems to really fill the pores well and give a very nice finish. My biggest problem is having the patience to wait until one coat is DRY before applying the next.
The more checkering I do, the worse I seem to get at it. Small areas are fine, but the larger areas seem to be a significant challenge. Regardless of whether I use the short S-1 or the longer cutters, the lines seem to wander off when they are more than a couple of inches long. I’m seriously considering some custom carving, like basket weave or fish scales. I’ve got a chunk of walnut I’m using to test out my tools & techniques.
I also re-bedded the barrel and action (twice) and put aluminum pillars in. The job isn’t perfect around the front mounting screw, but hopefully I’ll get that cleaned up with a little inlay or something. I am really torn between putting a bunch more time and work into this stock, and replacing it with something from, say, Boyd’s. Time will tell. I do need to get some more pictures take, I’ll post them if and when I get around to it.
So the real question is — how does it shoot? Well, I wish I could say! My remote shooting range is gone, someone built a house next to it and put a road across it. I have not found a good place to shoot yet – it looks like if I want to zero the thing and do any load development I’ll have to either join ENGC or drive to Grand Island to use the range there. It’s on my To-Do list, right up there with getting the AR15 varmint rifle zeroed in.