I started some disassembly, but winter was coming and I had to find a better place to work. I wasn’t about to park outside all winter while freezing my fingers off in the unheated garage. It was then that my wife suggested checking the local community college… Score!! “Special topics in auto body restoration”, bring in your own project vehicle and use the fully equipped body shop, sandblaster, welders, cutting torches, plasma cutter, paint booths, the works. Perfect. Heated shop, too. I signed up for a quarter, pulled the engine and got to work.
I took some pictures before the work commenced and will have more as the restoration nears completion. Unfortunately I didn’t ever take a camera to the shop for work in progress shots, but suffice to say I got acquainted and reacquainted with a lot of skills and tools! I learned plasma cutting, spot weld removal, welding and sand blasting, and got to get back in practice with a body hammer and dolly, filler, lots and LOTS of sanding and paint mixing and spraying.
The floor and leg shield as well as the left side cowl were too badly rusted out to save, so I bought a reasonably sound frame from Sportique Scooters in Denver. I had to section the frame and weld the two pieces together to make one sound frame and body assembly. I did it along the old seams, drilling out spot welds and separating intact metal from rusted wherever I could. I did make sure the “new” frame had the correct VIN, since I do plan to title and license the scooter once it’s done. The entire body was pretty much covered with surface rust, and in many places it was bad enough to cause substantial pitting and the occasional perforation. I ended up having to sand blast the entire scooter from the ground up. I think I went through about 10 or 12 bags of sand by the time I was done, not counting the time spent with the sand blasting cabinet that recirculates the sand.
Lots of hammer and dolly work smoothed out the various dents and bends in the sheet metal. Both cowls were dented, so I got the metal as smooth as I possibly could and skim coated them with filler. One of my goals was to have as little filler as possible, and I don’t think there is anywhere on the scooter it’s more than a millimeter or so thick. The wheels were beyond hope, so out they went.
By the time the body was pretty much done my class was nearing an end. Though I had more work to do, spending all day every Saturday in the shop was starting to take its toll. I decided to protect the metal and take a break for a quarter or two, returning if necessary for the final paint job. I took it into the paint booth and sprayed two coats of self-etching primer to neutralize any remaining surface rust and provide good adhesion. I followed this with a couple more coats of Full-Fill sandable primer to smooth the surface and fill any minor imperfections. I loaded the scooter parts into the truck and brought them home, where they spent many months awaiting sanding and some minor remaining work. I finally got the old control cables removed and had to cut the brake pedal off with a Dremel tool. I found a new brake pedal, which isn’t an exact match for the old one but it’s very close. I ended up having some problems getting the last floor rail off, but it’s finally gone. Now I get to try to find replacements for the floor rails that need to be replaced; the two outer ones and all three in the center are gone.
I got the headset painted and the handlebars cleaned up. Now all I need is some small parts for the control levers, and the headlight rim. I even found the original clear plastic jewel for the back of the headlight housing. The front fork assembly is put together, and this weekend I’ll be installing the new bearings and seals for the front axle, then brakes and a drum, and the fork will be ready to rock & roll.
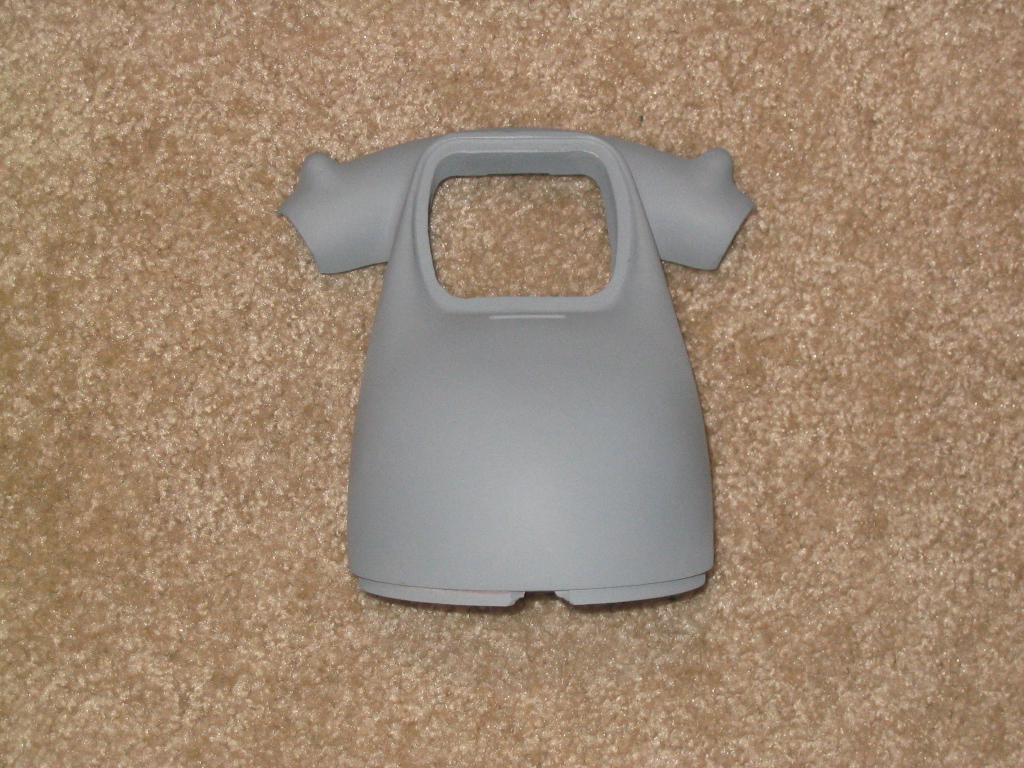
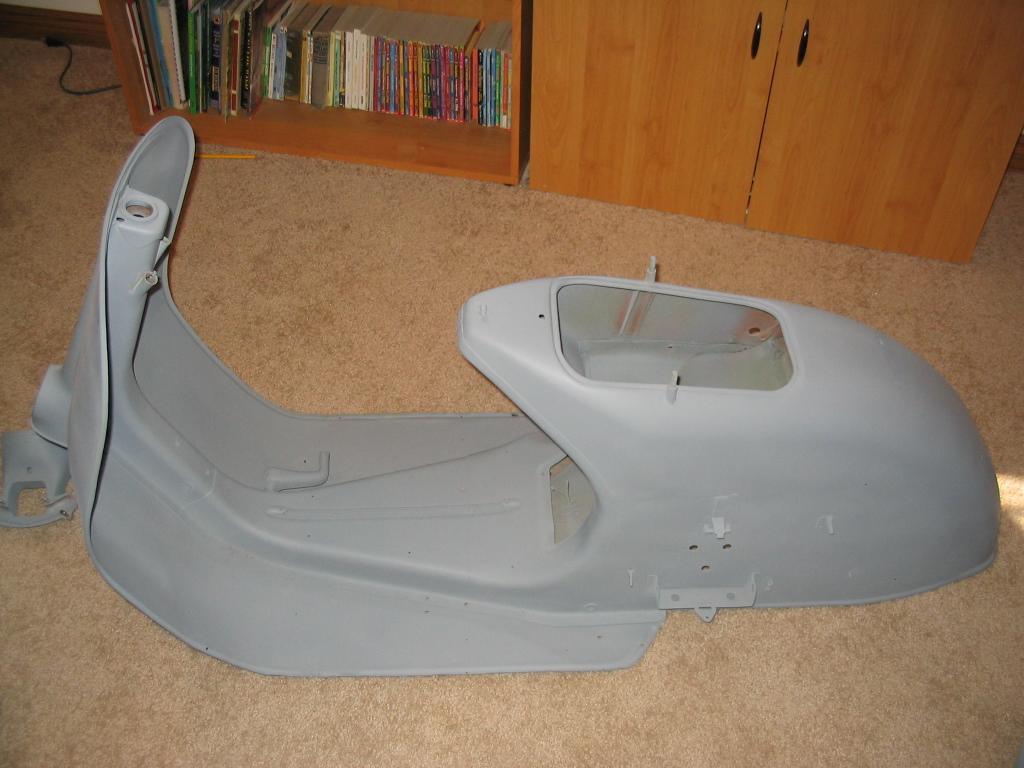
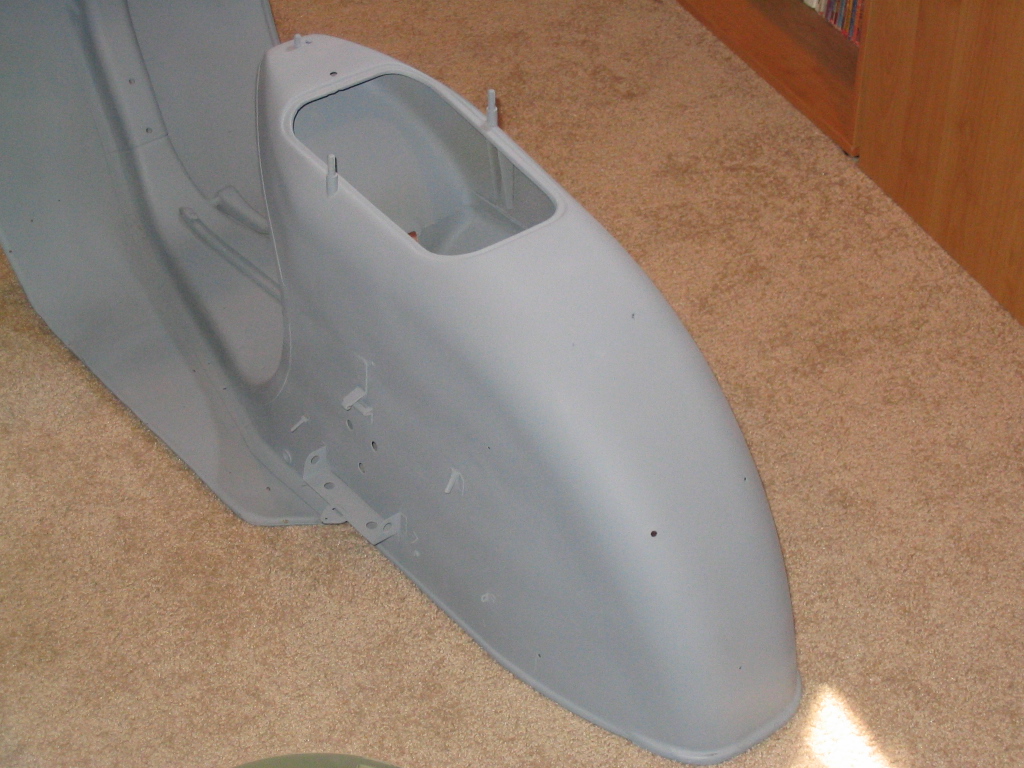
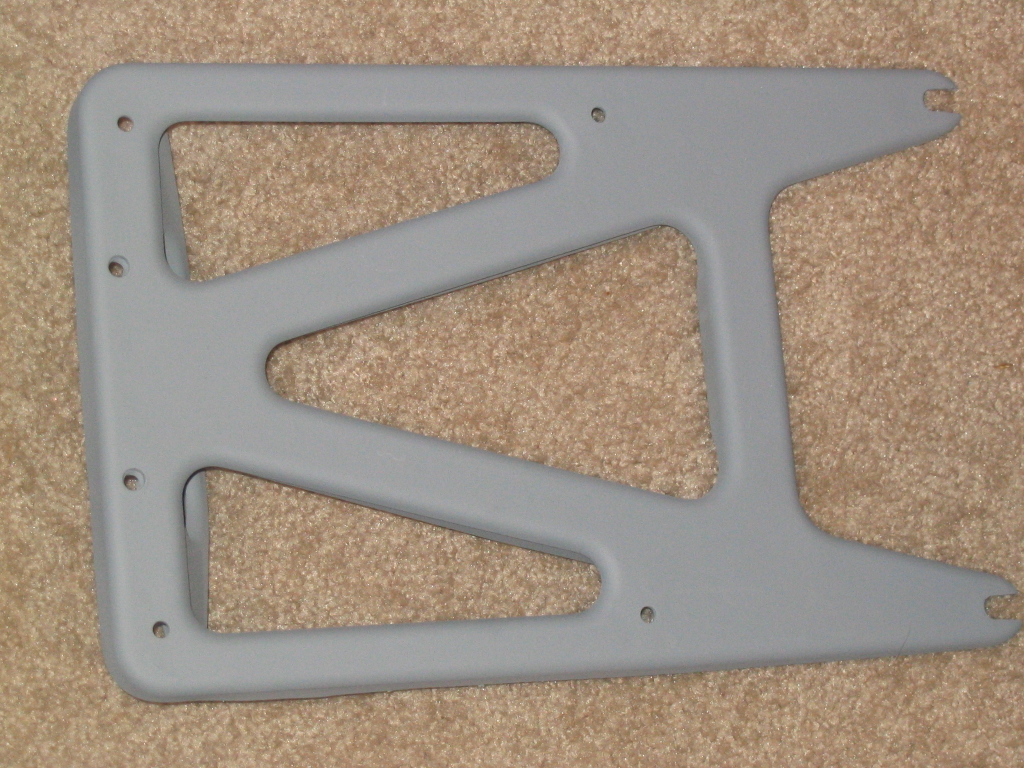
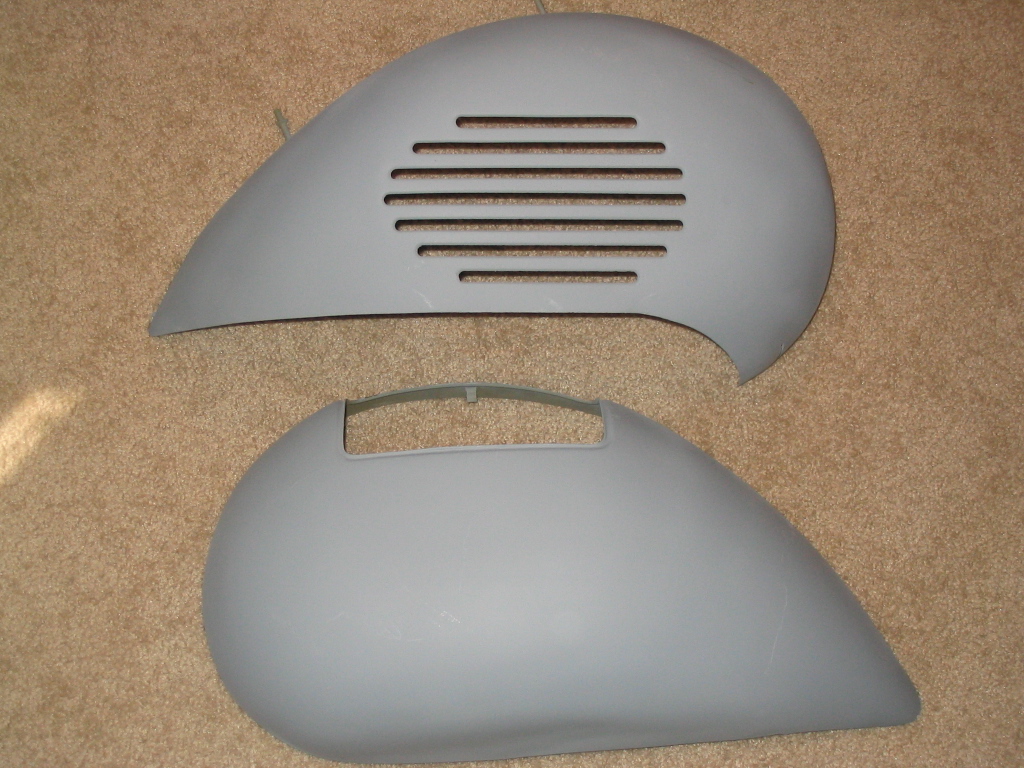
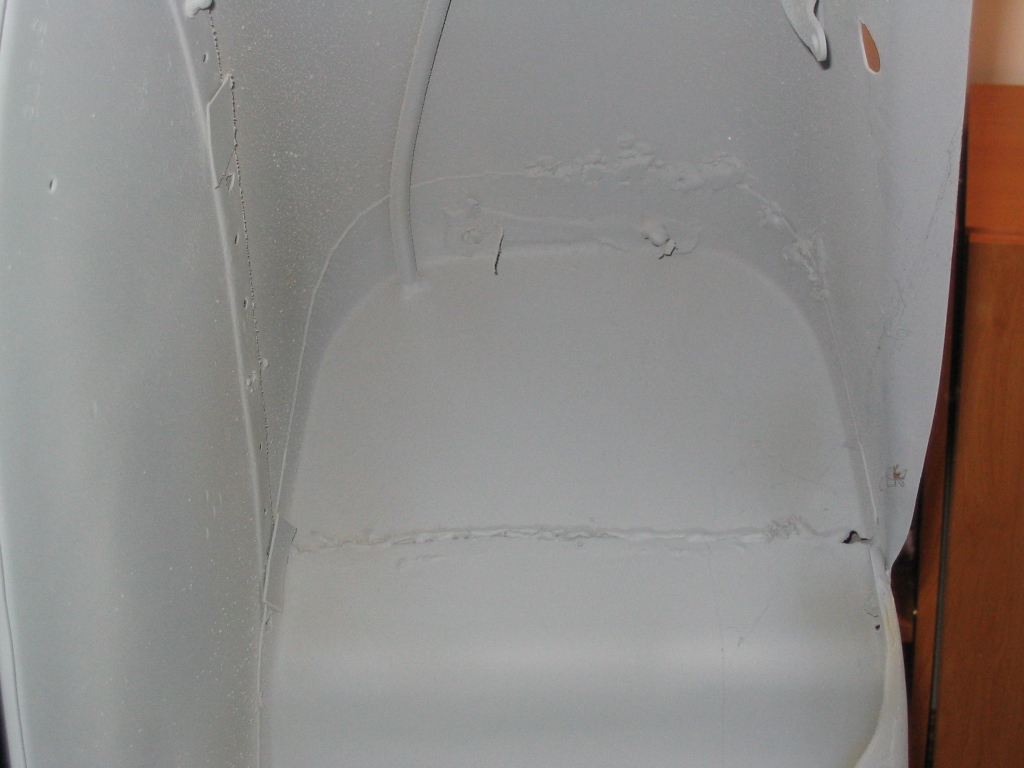
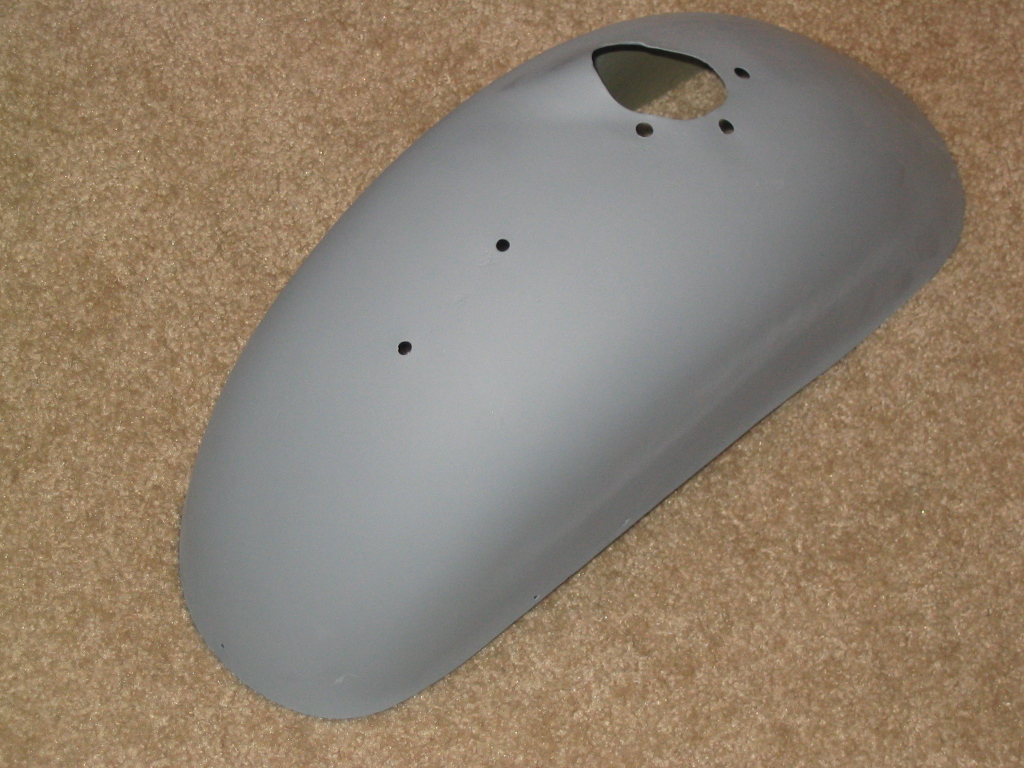
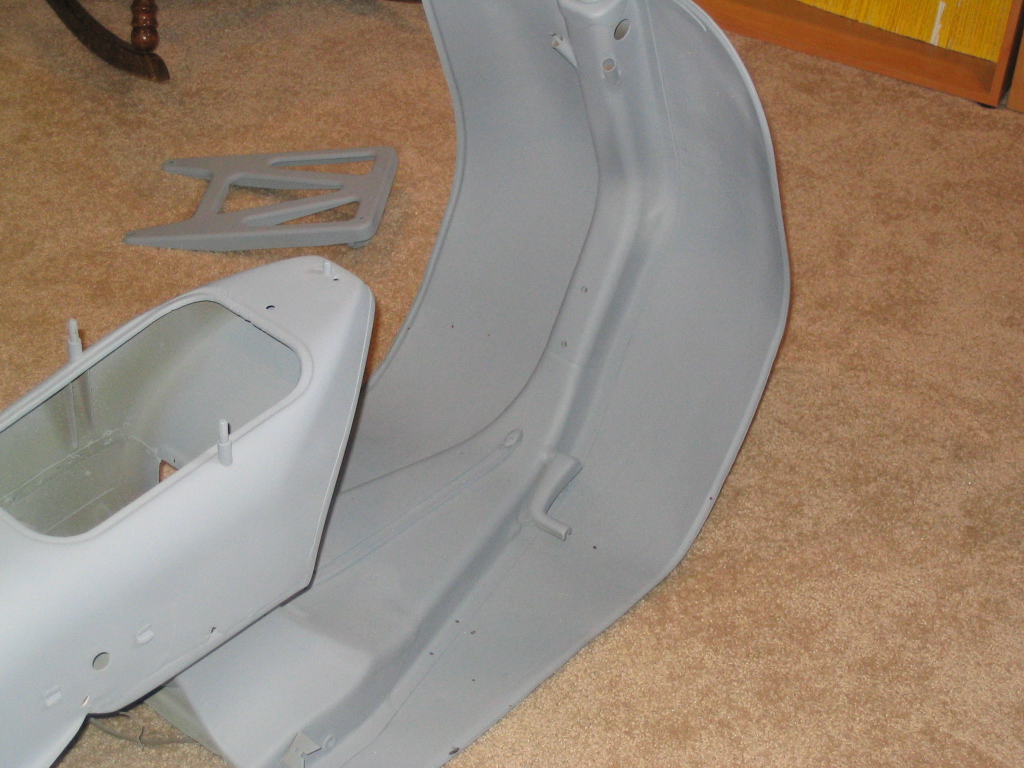
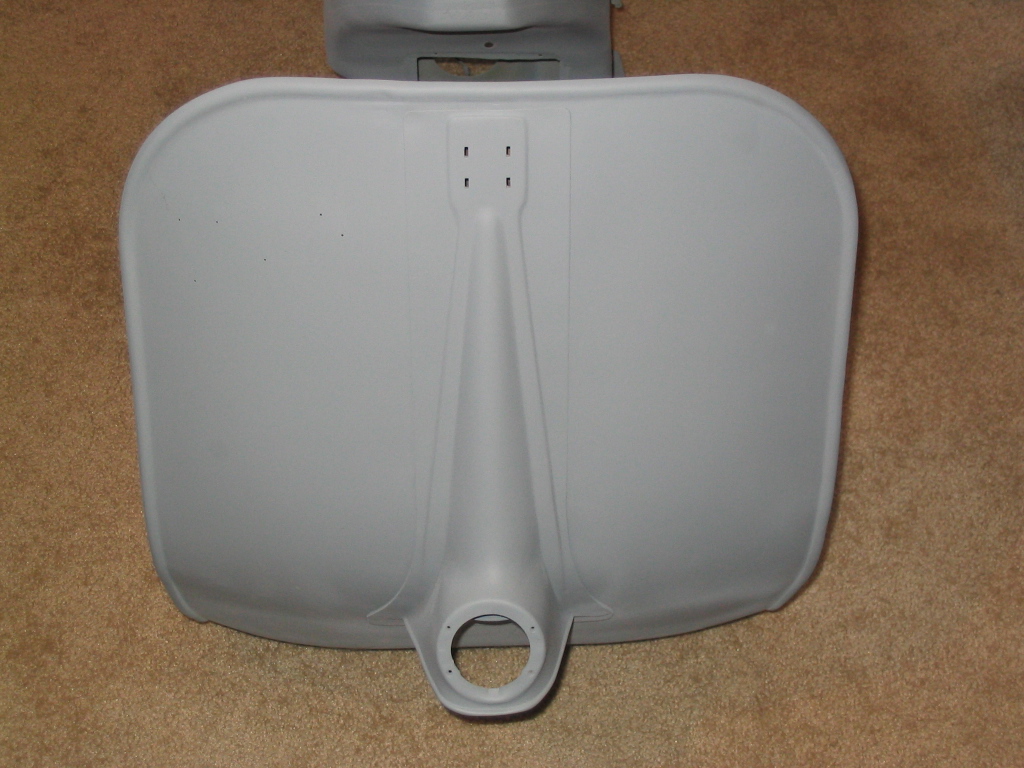
Here are some pictures of the body after the cutting, welding, sanding, grinding, smoothing, filling, and priming.
