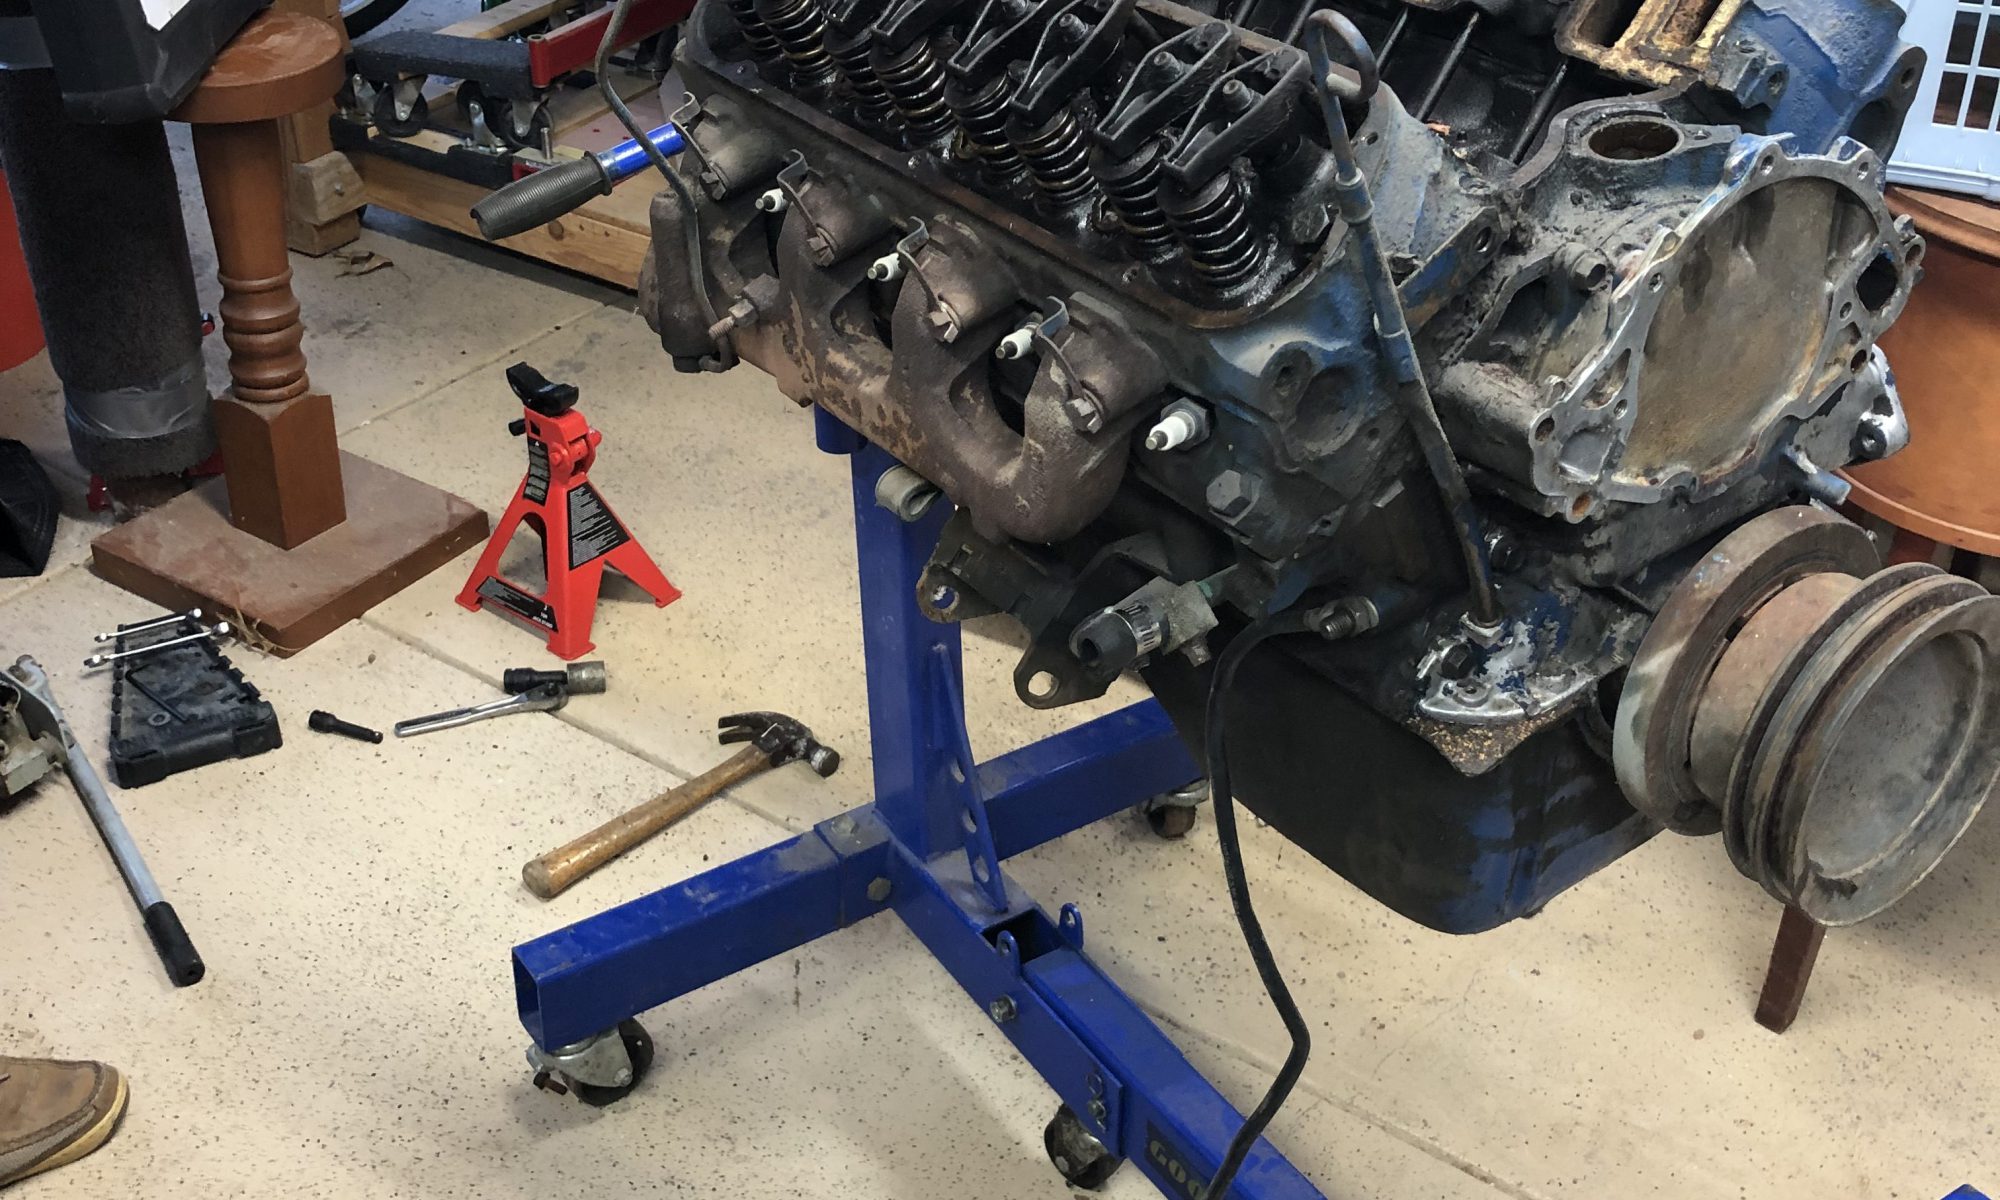
Crankshaft back in

Last night I was back in the garage. I decided to check the main bearing clearance. The journals are smooth and measured exactly where they should be. I had never used Plastigauge before, but the concept is pretty basic. Sure enough, the Plastigauge shows about .00125 to just under .002 main bearing clearance.

I applied a generous amount of Lucas assembly lube, which is a thick green lube that looks like it would be pretty good around Halloween. I had to drive the pin out of the rear main bearing to accommodate the new rear main seal. I cleaned up the area with brake cleaner, then plugged the hole with a little silicone gasket compound. I installed the rear main seal and the main bearing caps, tightening them all down to 65 ft-lb.

The Moore rebuilding book says to use silicone on the mating faces of the block and rear main bearing cap. I’m generally not in favor of using silicone sealant anywhere in an engine or fuel system. I have some Permatex Aviation Form-A-Gasket that I considered using, but in the end I used the silicone gasket maker that I had bought for this project. I figured that the amount needed between the cap and block would be so small that it really didn’t matter much what I used, so I wiped on a thin film and tightened the bolts down. I’ll probably re-torque them tonight just to be on the safe side.

I ground the lumps out of the other head; in fact, it’s better than the first one so I’ll have to do a little more on that one. The carbide grinding burrs I bought do an outstanding job of removing iron from castings. I’ll clean them up with a flap wheel later on, but I’m not going to go for a complete polished exhaust port. This is a street engine, and just removing those big lumps of cast iron will do a lot for air flow.

Back to work!

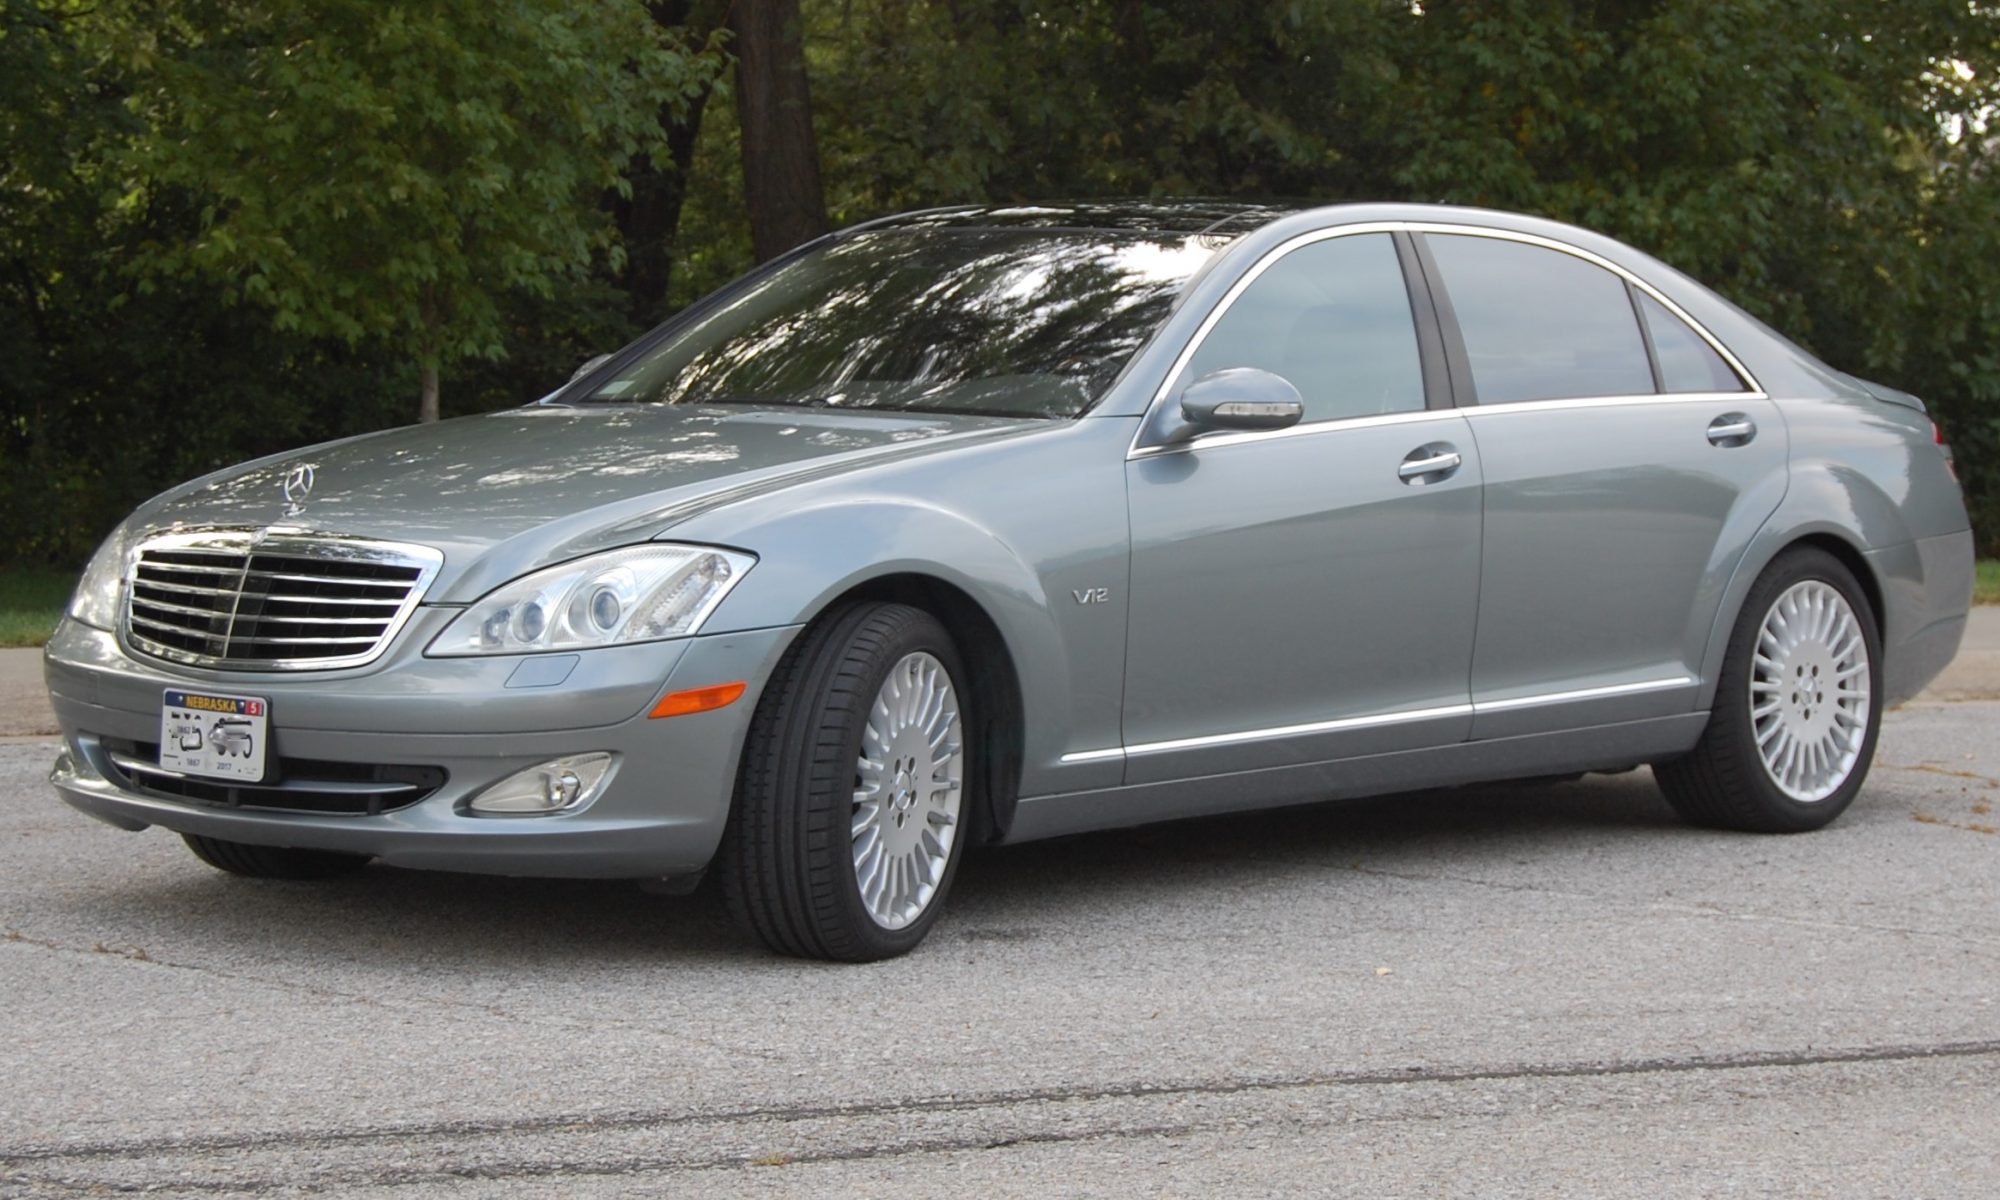
Has it really been two months since I touched this thing? Sheesh. Well, in the mean time I completed the annual condition inspection on the plane, solved a very pesky problem with the Mercedes (turned out to be gummed up fuel injectors, of all things), took a vacation in northern MN, and… umm… whatever.

I gotta get something going with this thing. It’s been taking up way too much space for way too long. I was supposed to have this car done and sold six months ago. But it’s awfully easy to put off things I’ve never done.

Tonight, spurred on by the bravery of a good stout Manhattan, I attacked the heads. It all started innocently enough. I had bought a new dial indicator with a magnetic base to check the valve guides for excessive wear. It was still in the case, so I tried it out. Can you believe I made it to 50-nevermindhowmany years old, grew up the son of a professional mechanical engineer who designed semitrailer tank trucks, and have never used a dial indicator? The valve guides are fine, thank goodness… the worst one I found had .005 wobble at the tip of the valve stem, in any direction. That works out to around .0015 clearance, according to Mr. Monroe’s book. I decided to lap the valves, as long as I was out there.

I got all 16 of the new valves lapped; the seats all look quite good now. While I was at it, I decided to finally try out the carbide burrs I bought a couple months back. One cylinder head now has all four of the big lumps removed from the exhaust ports… THAT was easier than I thought it would be. I’d never used a die grinder as a grinder before, either. I’ve used a cutoff wheel… anyway, I’ll finish the cleanup and polishing (to some degree at least) once the other head is done. I figure even if left rough it will be better than having the big restriction in the port… but I’ll clean and polish them up as best I can. I’m pretty happy with the results.

I was on a roll. I heard a tiny voice taunting me. Took me a while to track it down, but it was the Flex-Hone calling me all kinds of names I won’t repeat here. I swear that’s why I pulled it out of the box of stuff from Summit Racing and doused it with oil. I figured shoving it into a cylinder bore would shut it up. The taunting continued until I had beaten it into submission with a Ryobi drill and a number of passes through the cylinder. By the time I was done the cylinder wall looked so nice, I went ahead and did the other seven. No more taunting from that tool, I tell ya! And those cylinder walls look good now, too. 45 degree cross hatch, and a light coating of WD40 to keep them safe for a few days until they get something better. Like another Jet A cleaning, a light coat of oil, and pistons installed.

While I was out there, I pulled the main bearing caps off and dropped them into the can of degreaser, after removing the old bearings. I used some solvent and a brush to clean up the mating and bearing surfaces in the block, then dropped the new bearing halves into the block and set the crankshaft in place. Figured that was enough for one night, so I went in and spent almost as much time trying to scrub all the grease and iron powder off my hands as I did working on the engine.

Tomorrow I’ll pull those main caps out and try out Plastigauge for the first time, too. I measured the bearing journals with a micrometer early on (I HAVE used those before!), so everything should be OK… but Plastigauge is cheap. If I’m not careful, I may actually have this thing back together before the end of summer. Really, the biggest challenge looks like it will be getting the block and heads cleaned up enough to repaint.

A Mustang update

Heads are off, valve train completely out, everything more or less cleaned up. I sourced all new valves and rockers. The original springs are OK, the free height on all of them measures within spec and within a few thousandths from spring to spring. The cam I’m going to use isn’t too aggressive for the pressed-in factory studs or springs, I don’t think. Once I have the heads cleaned up a little more and check the valve guides with a dial indicator, I’ll start lapping and re-assembling the heads.

The block is ready for honing… but I’m holding off a bit until I figure out exactly what I want to do to clean up the water passages. I’d hate to have to replace the cam bearings, so hot tanking or electrolysis is probably not a good option. I may try some Evapo-Rust or CLR and see how well that works.

Too bad about comments…

I have had to go through every WordPress site I run and completely disable comments and responses on every post and page on all of them. The penalty for not doing so is a non-stop stream of assholes (both live and bot scripts) posting spam responses to nearly every one of them. So, if you have anything to say, sorry — you can’t say it here. I do accept email, though.

Mercedes followup

I realized that I haven’t posted anything since July. Since then I’ve sorted out pretty much everything that was ailing the S600. After I finally had the dealer replace the ABS/ESP control module, that fixed most of the issues. I had a nagging problem with peeing coolant overboard after driving, but that turned out to be the cheap coolant tank cap I bought at AutoZone. Supposed to be a high quality part — nope. I bought a new one from Mercedes-Benz, and the problem went away completely.

The intercooler circuit has been working flawlessly since I put the new pump in and had the system bled, giving me full turbo boost under all conditions within its design limits. I replaced the conductor plate in the transmission, which fixed a shift issue that popped up. I replaced a seeping valve cover gasket, and while I was in there did all the spark plug boots as well… the parts are cheap. All of this was really just fixing things that had been ignored by the previous owner and his servicing shop. The only thing that pissed me off, really, was the ABS module — there’s no way in hell the dealer didn’t know about that.

In October, we took the car on a week long, 3,000 mile road trip. We drove through NE, KS, CO, UT, NM, AZ, and back. We stopped at the Four Corners monument, stayed at the Grand Canyon, saw Santa Fe and Albuquerque, visited the Petrified Forest, and more. The only thing I noted was what felt like a little bit of a lack of power when passing at high altitude. I decided not to worry about it… we were on vacation, I wasn’t going to dig under the hood. Wish I had! It was a simple thing. The air intake pipe between the intercoolers and the throttle body had popped off — some fool (me) had not sufficiently tightened a clamp and it blew off. The car still went like hell, with no problem passing even at 8-9K feet elevation. But imagine what it WOULD have done… wow. It took me all of ten minutes to fix that.

The cost hasn’t been as bad as I had expected. Parts have been surprisingly reasonable. The ABS control unit was the worst; you can’t buy used, and the dealer has to install it. Period. The rest, though, was not a big deal, really. Fortunately I found a local shop where you can rent a bay with a lift, which made doing the transmission service and conductor plate easy.

Overall… unlike some cars, you can’t just drive these things and not touch them except to change the oil and tires. It’s a high performance machine, and requires that the owner pay attention to maintenance or it will break. That’s all there is to it. So the maintenance cost is higher than, say, my F150 that I haven’t had to touch other than oil and tires since I bought it.

But the truck doesn’t massage my back while I’m cruising at speeds that would scare me in a lesser car, either.

That said, it’s time to part ways. I love the car, I truly do. But, when I bought it the plan was to sell the truck and not keep an excess vehicle. Well, that hasn’t happened, and we realize that we will probably need the pickup for another couple of years. I’ve got the car listed for sale (at a great price, I might add). I’m looking forward to shopping for an S65 in a few years…

Moved.

I’ve moved the blog to a new web service… one of the AWS virtual server offerings. So far, so good… and dirt cheap.

A couple months of Mercedes ownership

I’ve been adjusting to “semi sort of exotic” V12 ownership.  Early May I bought a Mercedes S600 with under 48K miles on the odometer.  If you’re unfamiliar, it’s an exceptionally opulent luxury sedan with a 510 HP, twin-turbocharged 5.5 liter V12 and an active hydraulic suspension system, among other things. It hasn’t been trouble-free, but I don’t think anything new has broken since I bought it — it just had problems that weren’t obvious when I looked at it.  If I’d have had a proper dealer PPI done, I would have screwed the price down a few more thousand — but the logistics of doing that in a distant city are difficult to say the least.  Next time (and there will be a next time), I’ll do it differently.  

The real adjustment is in how these things are serviced.  Got a problem?  Unless it’s something mechanical that’s obviously broken, you’re going to absolutely need the Mercedes dealer level software (at the very least), on a dedicated laptop, and the hardware to get it to talk to the car.  Period.  Or, you take it to a dealer that charges a $160 “diagnostic fee” per symptom.  Or, you find an independent shop and hope they’re as good as they claim.  The mechanical systems are very complex.  The electronics are far, far more complex.  Just an example: You turn the thumbwheel on the dash air vent to control airflow.  It’s not a mechanical control.  It’s a potentiometer, which is read by a control unit that sits on the CAN bus, and talks to numerous other control units, and a decision is made how much to move the electrically actuated damper behind that vent.  Oh, the potentiometer went bad and can’t be read?  No A/C for you, pal.

I’ll be about $3K deep in repairs, parts, and vehicle-specific tools by the time I’m done, maybe a little less.  The good news is, half of that is the one thing that the dealer HAS to do — the rest I can do myself with parts sourced from Fleabay or a couple of dealers that sell factory original parts at a deep discount.  By the weekend I’ll be equipped to do anything the dealer can do diagnostic-wise, which will pay for itself quickly.  

On the plus side…  the thing is over-built, and the level of engineering and the build quality is fantastic.  Even at 13 years old, this car has features most new cars don’t.  You can cruise all day long in ridiculous comfort (the massaging seats help), and if the mood ever strikes you to see, for example, how long it takes to go from 40 to 130 MPH…  it will happily and very quickly do it, without drama, and you’re nowhere near the top end.  This model is limited to 157 MPH, and it will easily do it.  It’s not going to be as cheap to own and operate as my F150, for example, but once it’s fully sorted out I don’t think it will be punitively bad, either.  You don’t own a car like this (or a Ferrari, or a McLaren, or a Bentley, or whatever) because it’s cheap.  

Engine progress

It’s been a while since I posted an update, but it’s not like anyone is following this anyway. 🙂 The engine is out, and on the engine stand. I ended up buying a new hoist from Harbor Freight on sale. Getting the engine pulled was relatively easy, especially once we figured out there are bolts holding the flex plate to the torque converter.

The cam and lifters are junk. Lifters are worn completely flat, so they’ve got to go — this was expected. Plus, a new cam should really wake the engine up anyway. No surprises there. Timing chain isn’t too badly worn from what I can see, but that doesn’t matter either since it’s getting replaced.

The heads are off and look about as you’d expect for a 93K-plus mile engine. In my humble opinion, the valves are probably not worth saving. There are grooves worn in the ends. I’m going to look for some GT40 or GT40P heads locally, since they breathe much better anyway. Slightly larger combustion chambers, but not enough to really hurt performance — especially with a new cam that can more than make up for it.

Pistons and bores look great. Cylinder bore wear is .003 or less, except for #5. That one is more like .006, with about .004 taper. Bore, or hone? I don’t know yet. Honing would save several hundred dollars on the cost of the rebuild. The machine shop wants around $300 for a bore & hone. Add to that a couple hundred for new pistons. If I can just hone, then I can re-ring with new moly rings and save close to $500. I’ll do some more measuring and get some expert advice before making a decision. I’m not building a race engine here, so there’s really no need to sink thousands into it.

All of the main and cam bearings look good, no scoring or signs of uneven (tapered) wear. The crank measures within about .001 of spec, so no work needed there assuming it’s not bent – and no reason to suspect it is.

All in all, it looks to be in better shape than I anticipated. It was definitely time for an overhaul, though. I’m sure the valves weren’t opening fully. Given the wear on the lifters and valve stems, I suspect the cam lobes are worn a bit as well. Cylinder walls had no crosshatch left, and there were signs of a little surface rust from sitting for a few years. I think it will benefit greatly from a slightly hotter street cam, better heads, a 4-barrel, and new rings on freshly honed cylinder walls.

More disassambly

Last night I got a little garage time. I pulled one valve cover, just out of curiosity to see what kind of shape things are in. There were no surprises; the engine seems to be in its original condition with 93K miles. I do see evidence that it’s been worked on over the years, of course — blue Permatex everywhere. No clear sign it’s been overhauled though.

I got the carburetor removed, and pulled the intake manifold (a first ever for me). I’m not going further with disassembly until it’s on the engine stand; in fact, I’ll put the valve cover back on to avoid dripping oil when we pull the engine. But, it’s easier now to get to parts of the engine and the various lines that will be disconnected prior to removing it.

Rearranging…

I took advantage of the good weather this weekend, and my wife’s suggestion, to do some cleanup and rearranging. I got the Mustang down off the jack stands, and we rolled it out into the driveway. I moved the big workbench, the mobile tool bench, and some other stuff to the second garage bay. In between moving stuff around in the garage I got out the power washer and cleaned up the front suspension, engine bay, rear springs, etc. Whatever I could reach without soaking down the interior too much, since there’s still a dash in there. I managed to get a lot of mud, crud, old grease, and some undercoating blasted off.

Once that was done, we got it turned around and into the third bay, nose-in so the front end is near the tool chest. It should be easier to work on now, since I won’t have to walk all the way around the car every time I need a tool. There’s enough room to work – there could always be more space, but it’s an improvement over the way it was before.