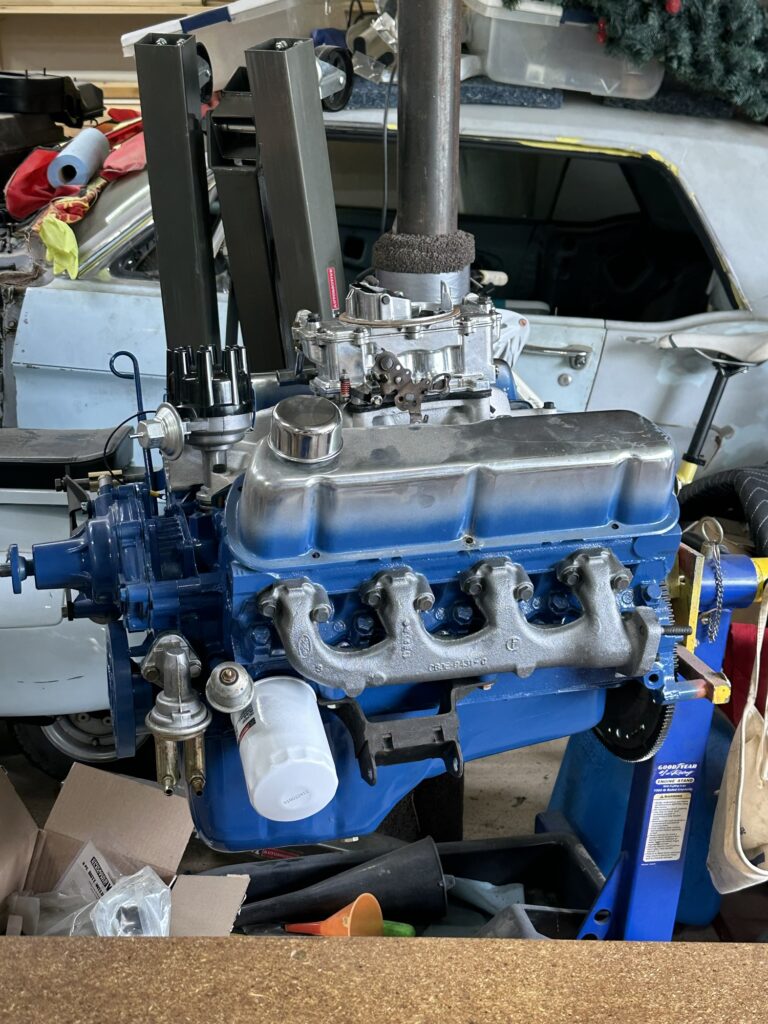
Over the past several days I got the intake manifold installed and the bolts torqued. I took a look at the valve covers. Originally I’d planned to scrap them and buy new, but more recently I’d been contemplating either stripping them of the overspray and polishing them up, or just painting them to match the engine. On close inspection, though, I confirmed my initial plan. There’s a bunch of residual RTV that suggests to me that they’re not straight, and one of them has a split where someone had over-torqued a bolt. They’re junk; I’ll keep them on as dust covers for the valve train until I pick up a new set. I really want to buy new chrome covers, but I’m going to keep talking myself out of it. Eventually, some day, someone will have a set of nice finned aluminum valve covers for sale at a price I like and I’ll scoop them up. Or not.
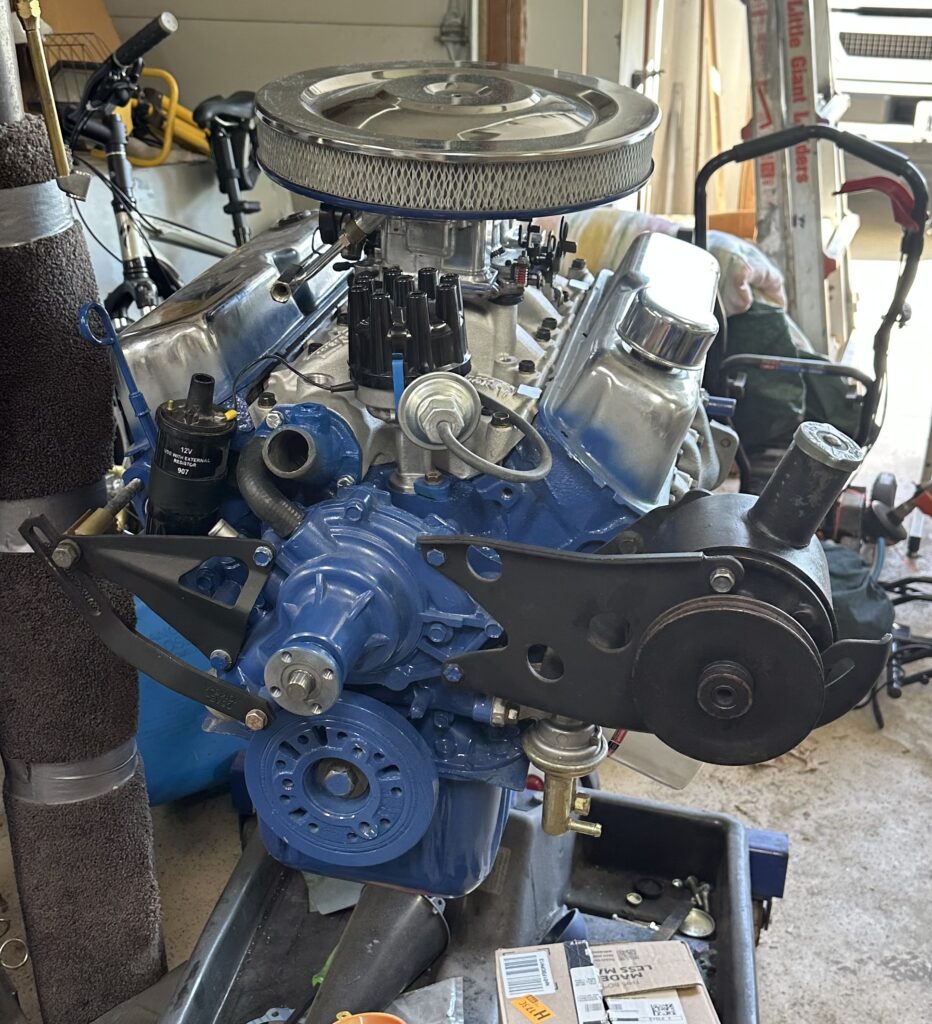
The carburetor is done and in place, though not attached – no studs yet. I cleaned up the air cleaner lid. Once the car is back together and I have the engine back in, I’ll measure the hood clearance and put the tallest air filter I can fit on it.
I got the thermostat housing cleaned up, painted, and installed with a new 195 degree thermostat. Today I got the distributor installed and ran a vacuum line to it. I also installed the little 90 degree elbow from the water pump to the thermostat housing, it just needs clamps. I also installed the pipe plugs in the unused intake manifold holes – a couple of 3/8 NPT plugs front and back. I left one open for the water temperature sender, and a 1/2 NPT for the heater hose.
Finally, I installed the power steering pump bracket and pump, mostly to get them out of the way of other stuff. I’m getting the garage cleaned up enough that I’ve got a little room to work, so it’s getting closer to the time when I’ll be able to get under the car and drop the transmission and driveshaft. I’ll rebuild the C4 – at 93K miles it’s probably about due. I’ll likely just replace the U-joints as well, unless they’re in really good shape.