Missouri Meerschaums

I ordered a couple of Missouri Meerschaum corncob pipes on line a couple of years back. As I recall I ordered them from Penn Valley Pipes along with a couple of clays. I’ve learned that a lot of pipe smokers like corn cob pipes for some very good reasons. For one, they are inexpensive, so one could – if so inclined – dedicate one to each blend of tobacco. Or have one for each day of the week, or whatever. They don’t require much break-in, if any. I’ve found that they don’t have a problem with condensation, and they will accept a paper Medico or Dr. Grabow filter. There’s a lot to like about them, really.

I don’t smoke them all the time, but I do use them for times when I’m not willing to risk one of my really nice pipes. Out in the garage, in the hangar, fishing, etc. If I happen to drop or lose a $15 pipe, oh well. Buy another one. Not so much the case for a really nice Peterson or Savinelli or something!

More recently I see MM has added a bunch of new pipes to their lineup. Fancy ones, Hobbit-themed churchwardens, all kinds of stuff. I don’t know that I’ll build a massive collection of cobs, but honestly — what I originally assumed were just a novelty item are really quite nice pipes that are as useful to experienced pipe smokers as they are to novices just wanting to test the waters with something cheap.
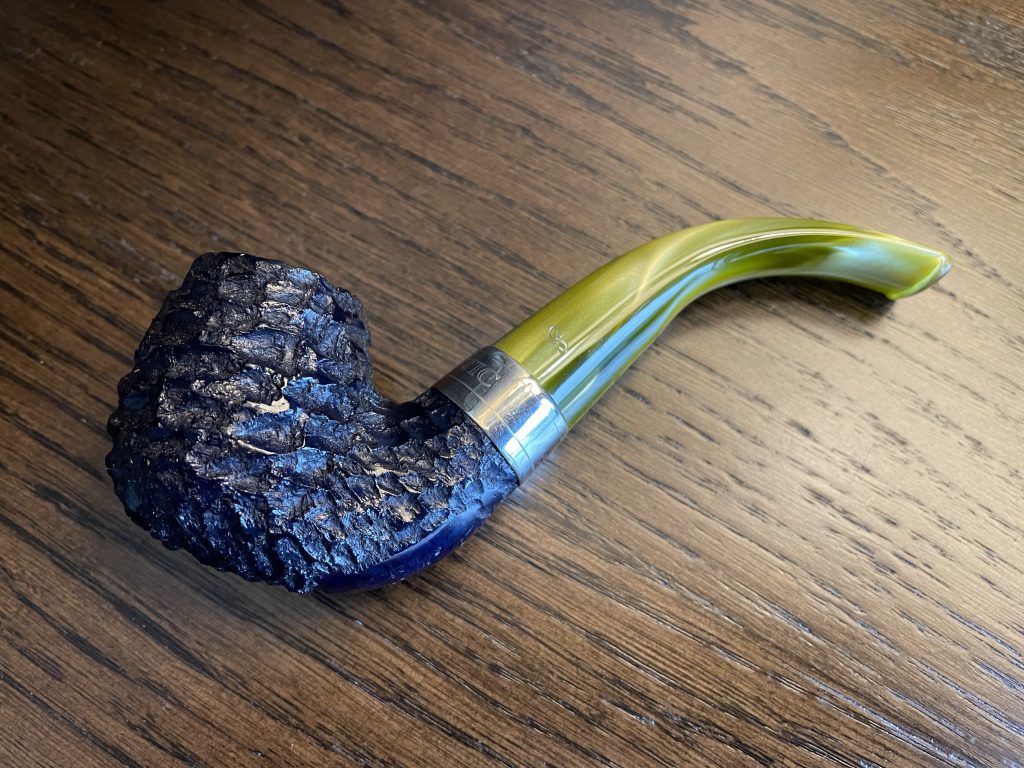
Peterson Atlantic Rusticated 221

I was in London for a couple of weeks around Easter 2022. I had not taken a pipe along with me, kind of on purpose. I did take some tobacco and a lighter, but not a pipe. I figured that if I had time, I could visit one of the pipe shops in London. With my work schedule I didn’t have the time to get to any of them while they were open. I did, however, find out that Selfridges has a James J Fox tobacconist in the store. That was a short tube ride and walk away, and they were open late, so off I went.

They had a small selection of pipes, and this one caught my eye. It being JJ Fox, in Selfridges, in London, I overpaid shamefully. That said, I love the pipe. It a favorite of mine that I use regularly. That said, it seems to have an issue with condensation and gurgling that sometimes cannot be overcome even with the Peterson “system”. I don’t know if it’s the shape or something else. (see edits below)

Rusticated Peterson Atlantic 221

Update Jan. ’24: I still like this pipe. The gurgling issue is partly the shape, and partly (the bigger part) a case of very poor drilling. The draft hole in the shank is drilled way off, intersecting around the very end of the tenon. This causes a large amount of turbulence in the airflow, and causes the moisture to condense out of the smoke. Of course there’s no way to get a pipe cleaner down there without removing the stem, so one either just deals with it or ends up with a large, soggy dottle — or both.

The peanut gallery is by now screaming, “But you just need to smoke slower!! Dry out your tobacco!” I can assure you — doing both these things will still result in a healthy gurgle about halfway through the bowl. I may do some work on the upper end of the draft hole one of these days when I’m feeling adventurous, but for now I just put up with it. I’m happy that Peterson is kind enough to hire the blind, I just wish they didn’t give them drills. 🙂

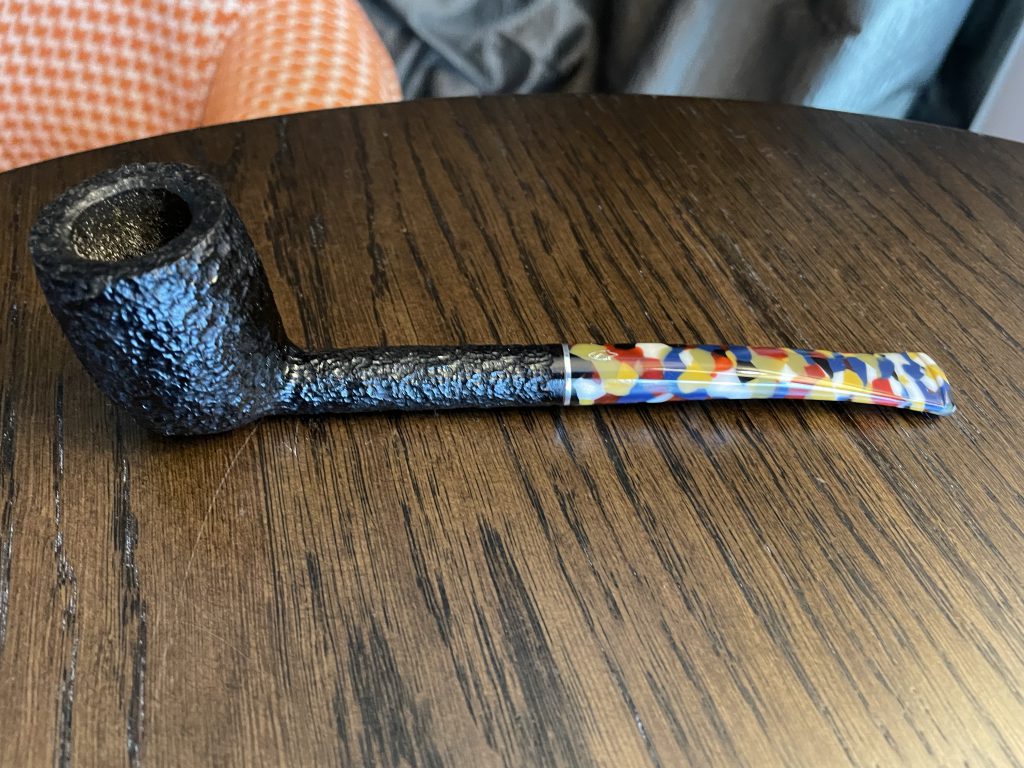
Savinelli Bing’s Favorite Limited Edition Arlecchino

There is probably only one thing that the late Bing Crosby and I have in common. I’ve got none of his talent and I don’t golf, but I love this pipe.

Savinelli makes a line of “Bing’s Favorite” pipes in various finishes. I was visiting my local shop, Ted’s Tobacco, partly to look at some of the Savinelli pipes I knew he carried. I was mostly interested in the 320KS shape, a chubby “author” bowl design. What caught my eye was this polar opposite. The Bing’s Favorite is a billiard with slim, elegant lines and a long shank. There were several in the case with various colored stems, but this one is the very unique “Arlecchino” stem that I love. When I saw pictures of the Bing’s Favorite on line I thought the stem would be a little longer than I would like; I was wrong.

I’ve smoked this pipe a number of times and it’s been wonderful. It accommodates a 6mm filter, either the standard Savinelli balsa or a cut-down Medico or Dr. Grabow paper filter. I get no gurgling or tongue bite at all. I love the size, the balance, the feel of it. I’m fond enough of it that I’m seriously considering buying a regular Bing’s Favorite in a smooth finish with the regular stem.

Savinelli Bing’s Favorite Arlecchino

Fixing a front heat issue

The symptom: No (or intermittent) heat in the front seats of a 2007 W221 S600.

  • The vents blow cool to cold air most of the time.
  • Changing the temperature zone setting has no effect.
  • Turning the climate control system OFF for a minute or so, then back ON will result in warm air blowing briefly, cooling off rapidly — as if there is hot water in the heat exchanger, but no flow of hot water from the engine.
  • XENTRY/DAS diagnostics show all temperature sensors working.

Fixes tried:

  • Replaced AC water valve. The old one was in need of replacement; the top water hose neck snapped off during removal and the rack & pinion gear was jammed with some debris, so it likely wasn’t working. The valve is a non-Mercedes sourced part, unbranded, likely Chinese sourced like everything else. $40, quality appears to be quite good and the fit was perfect.
  • Tested valve operation with XENTRY/DAS. Using the actuations top open and close the valve result in hot air (CLOSED) and cool air (OPEN), so the valve is mechanically and electrically operational.
  • Used diagnostics to teach-in and normalize all actuators, flaps, and air control potentiometers. This had no effect on the symptoms.
  • I wanted to reverse the wires to the valve at the plug. My hypothesis was that the motor was simply installed backward, resulting in the valve running opposite the direction commanded by the HVAC system. Since it’s an open loop system, the front SAM would have no idea that this was happening. Unfortunately, I had no convenient place to swap the wires. I ended up determining that it was indeed wired backwards internally. A new part from a Mercedes dealer (thanks, Husker Auto Group!) fixed it.

Results: Fully working heat!!

Oil Pan

Oh, the oil pan… what a mess. Rusty, nasty, covered with road grime, which is a combination of oil that’s been seeping for decades and dirt. Caked on in the corners, throw in a little RTV added over the years by previous owners in an attempt to stop oil seepage. Probably didn’t work, but it sure made a mess of things. Overall it’s not in TOO bad condition, with only one very small dent in the bottom corner that I may try to bump out — but it’s really not an issue.

I used a maroon Scotch-Brite pad and some Jet A (kerosene) to scrub out the flash rust and scorched oil residue from the inside. It looks fairly OK now, I’ll give it one more pass before the final installation. On the outside I tried scraping followed by kerosene and a nylon brush… with limited success. When I got the lip cleaned off enough to not trash the gasket, I temporarily mounted the pan on the bottom of the engine. The bolts — well, they look like what you’d expect of oil pan bolts that were on a ’66 Mustang. Serviceable, but caked with oily grime. But with the oil pan bolted in place, I was able to attack it with a steel bristle welding brush. THAT cleaned things up a lot. There’s more work to be done, but I’d say it’s halfway there now.

After cleaning it up and getting it ready for primer, I’ll pull it back off. The gaskets need a thin coat of Permatex, and maybe a dab of RTV where the gasket sections meet up. Besides that I want to to some de-rusting and cleanup that needs to be done off the block and without the bolts installed. The bolts will get a soak in parts cleaner, followed by a mineral spirits or lacquer thinner rinse. They’ll be fine to reuse.

I have ordered some metal prep, epoxy high temp engine primer, and high temp epoxy Ford blue engine paint from Eastwood. Just for fun I also ordered some paint for the exhaust manifolds. That stuff should be here some time next week. In the mean time I’ll be cleaning up everything that will get painted, then taping and masking everything off. I’m looking forward to buttoning this engine up. I still need to order an intake manifold and carburetor, but I’m going to wait until there are some significant sales going on. I’ve seen 10% and better discounts from Summit Racing before, and I’ll hold off ordering the expensive stuff until that comes around again.

Oh, and I decided not to replace the harmonic balancer. Turns out, there are repair sleeves for just that exact thing. I’ve got some rust dissolver coming to clean it up, and the repair sleeve, so I can keep the original and save about $70. Any time I can restore and use an original part and not buy a new replacement, I consider it a win.

Back to work!!

The Mustang has been sitting for far too long in a state of limbo. Sitting half torn apart, waiting on a couple of connecting rod nuts… then waiting on me to look up torque settings, the list goes on. I need this car finished, and it’s never going to get finished if I don’t do something.

Over the weekend I finished up the cylinder head work. I ported the exhaust ports a while back, and the new intake and exhaust valves have been lapped. I used a bore cleaning brush to run some mineral oil through the valve guide bores, followed by some oil. I got the seals, springs, and keepers installed, followed by the new rocker arms. I temporarily installed the heads, but pulled them off again because I’m missing one dowel pin and didn’t have the head bolts properly lubricated. They’ll go back on tonight, and I’ll adjust the valve lash and lifter preload.

I need all new bolts for the timing cover and water pump. I ordered them from Lowe’s and picked up the bag, only to find that the twit that pulled the order got nearly half of them the wrong size. Of the 16 5/16 bolts I ordered I got an assortment of 1/4, 5/16, and 3/8 bolts. So, I need to go back and return that entire order and just go pull the right bolts myself.

It turns out I’ll need a new harmonic balancer. This one has a definite groove worn from the front seal, plus it’s rusty and really looks like a pain to try to clean up and get reputable looking for a rebuilt engine. So, I’ll order that, plus a Weiand Street Warrior intake manifold. I’m shopping for a carb. Most of the resources tell me that a mild street 289 really only needs about 400-470 CFM. A 600 CFM carburetor is much less expensive and there’s a lot more selection, but I don’t want to over-carb the engine and hurt low end performance, throttle response, and street driveability.

The new oil pump is on the engine, along with its new drive shaft. The pickup is bolted in place, so once I get the timing cover on I’ll be able to mount the oil pan. That will let me pour some oil in the engine and, once the heads and valve train are done, run some oil through the engine and close it up. I can’t re-install it until after the body and front suspension work is done and the engine bay is repainted… but at least I can get it parked out of the way and get to work on the last couple of punch list items on the Mercedes.

2020 Vacation Trip (Yellowstone day 1)

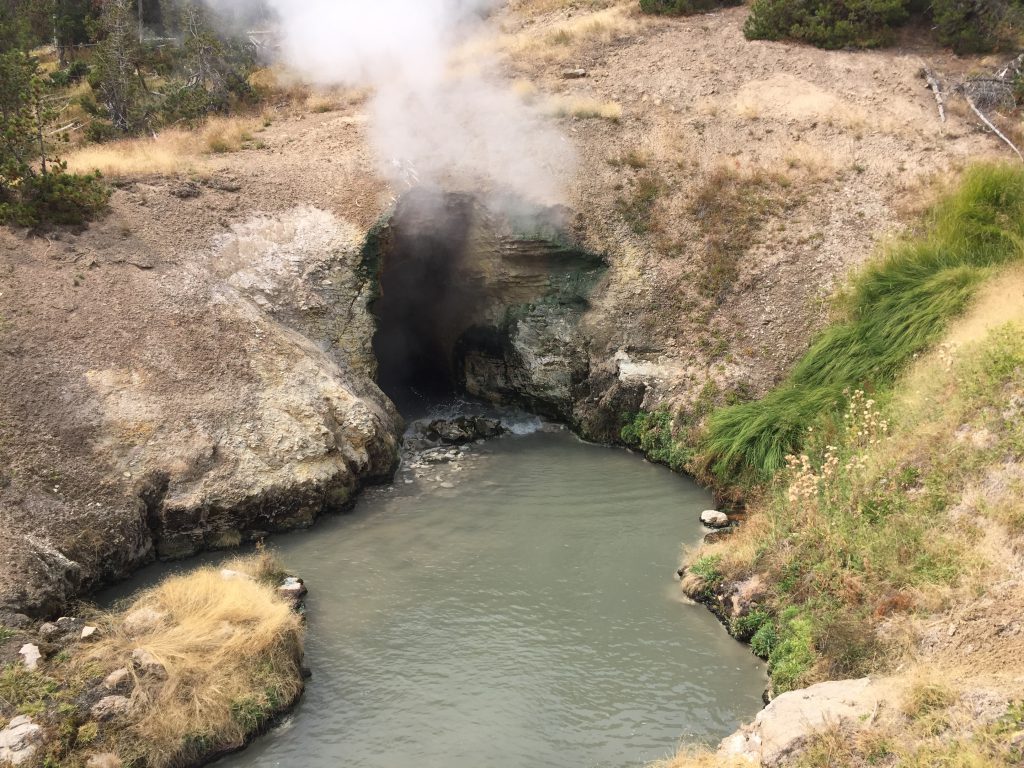
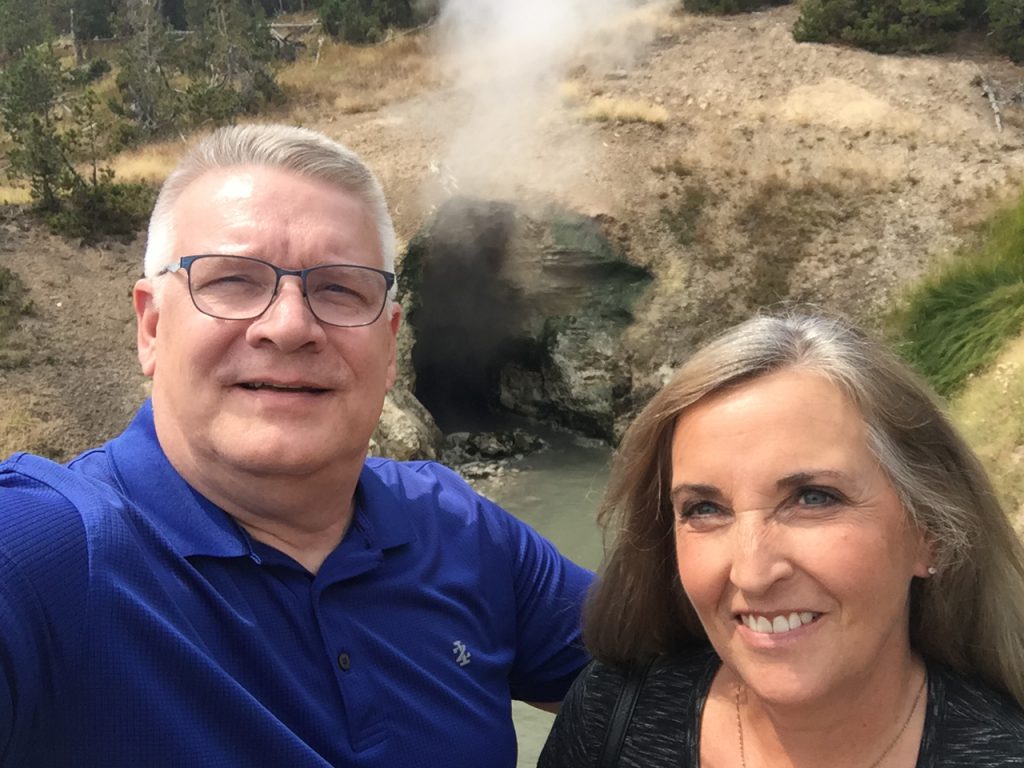
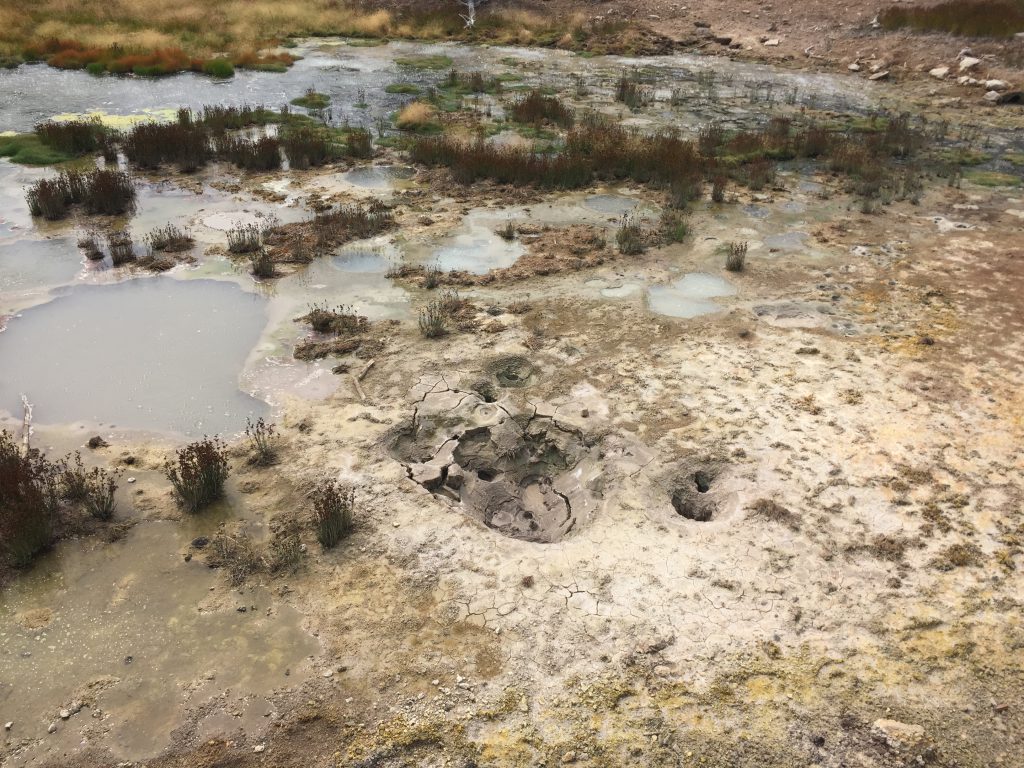
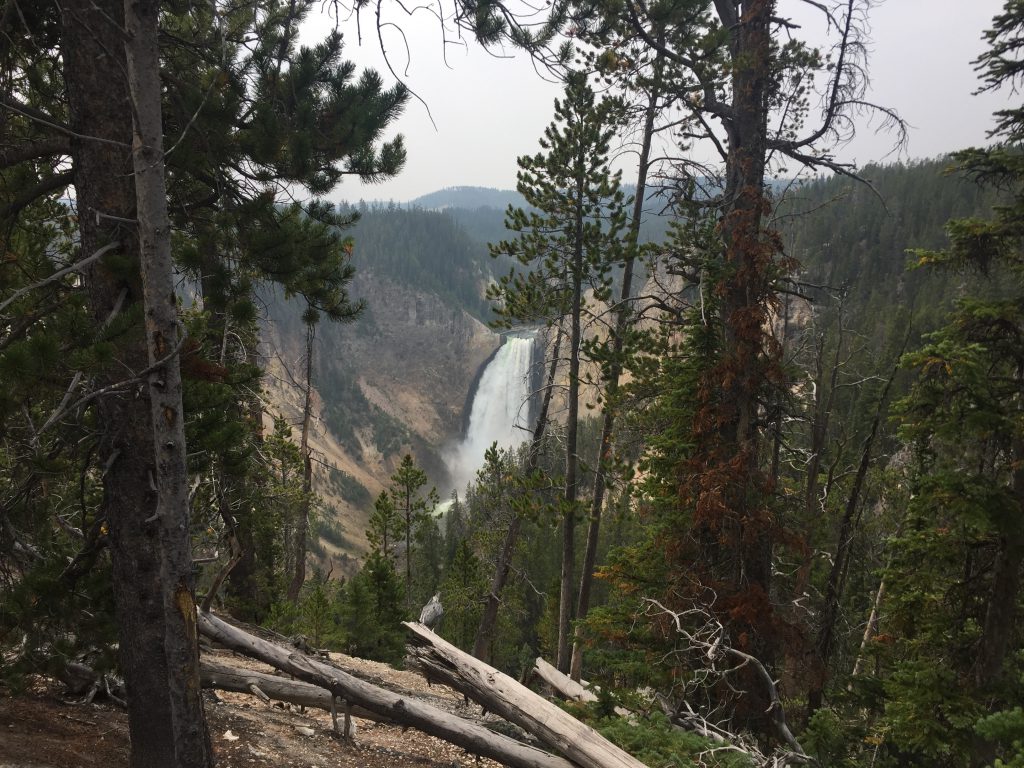
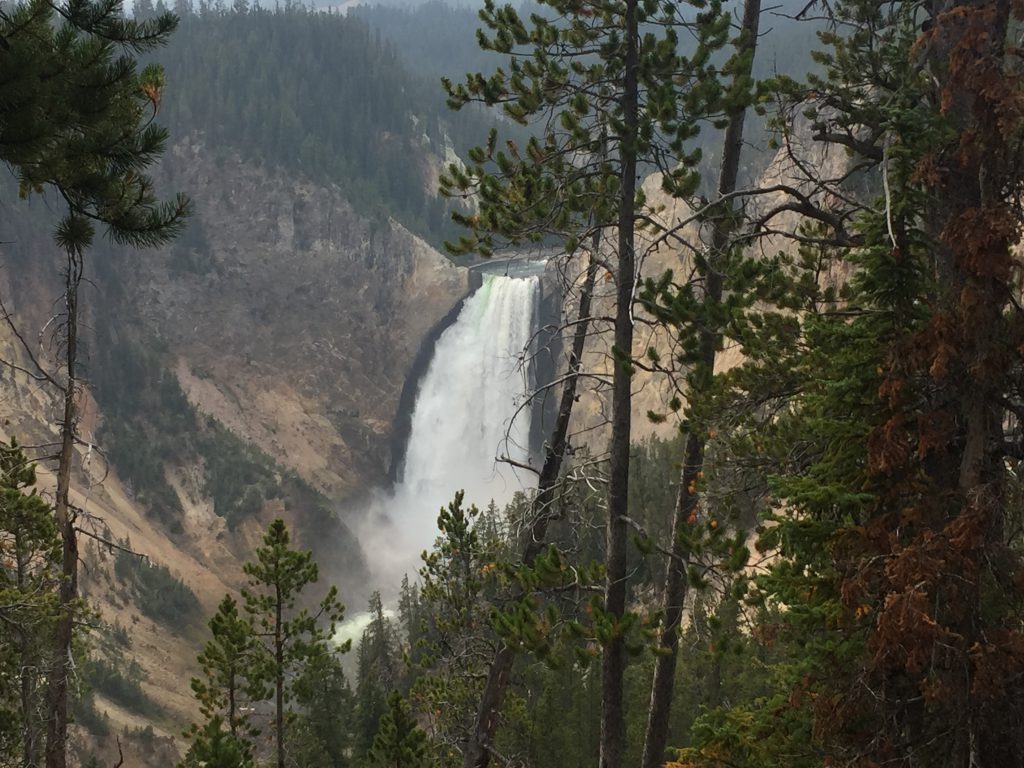
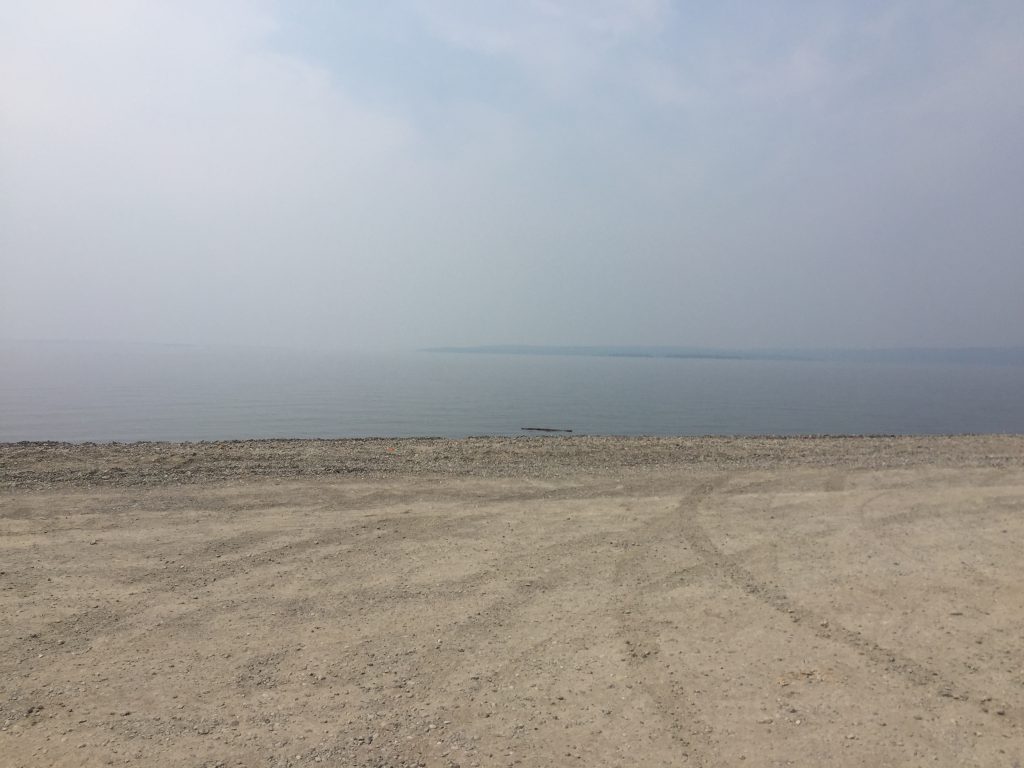
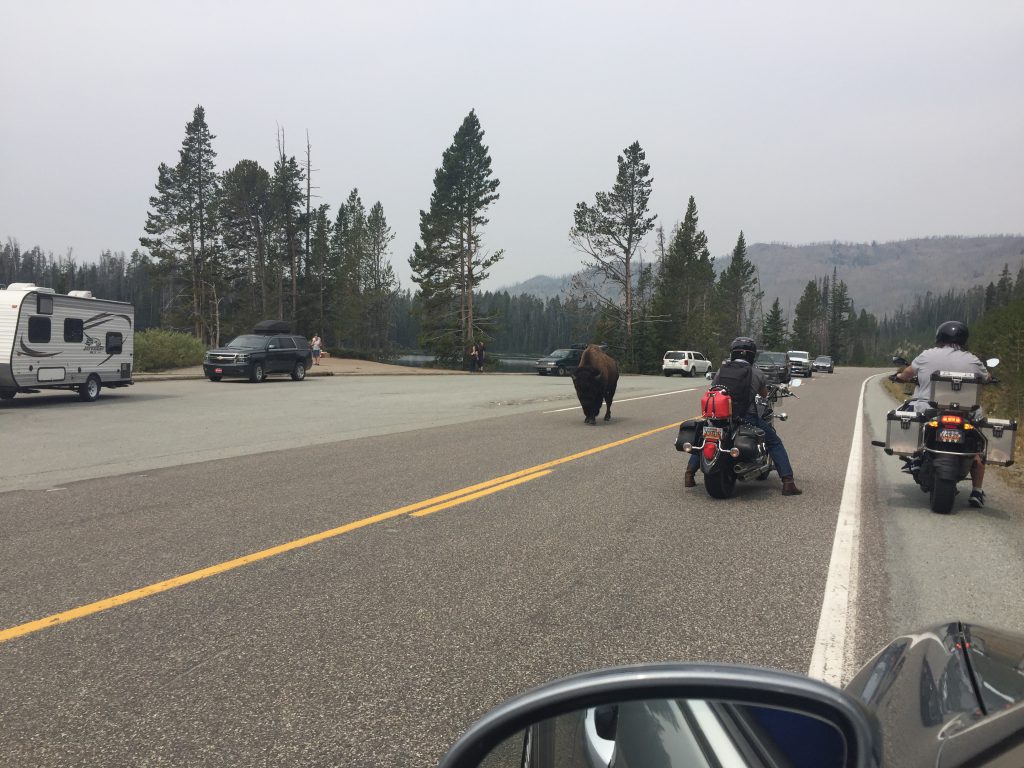
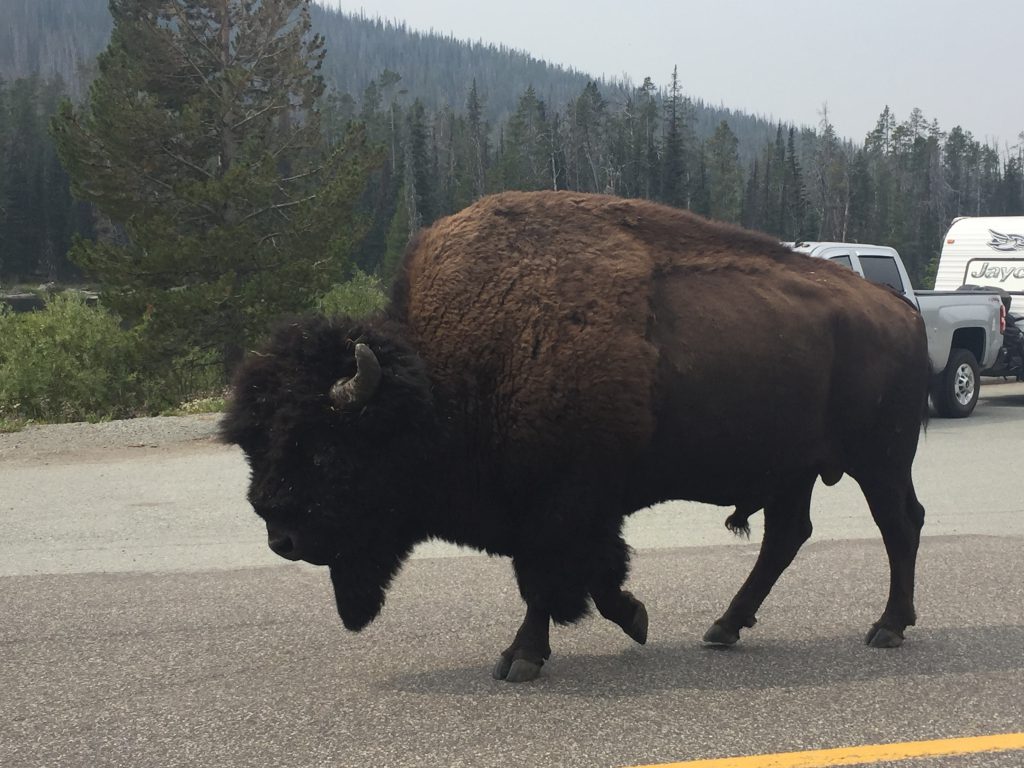
I think we could have spent the entire week at Yellowstone and not seen everything. The first day saw limited visibility due to smoke from fires in CA and within Yellowstone itself. In fact, there were two roads closed due to wildfires. Still, the park was amazingly beautiful, and I’m sure we will be back again.

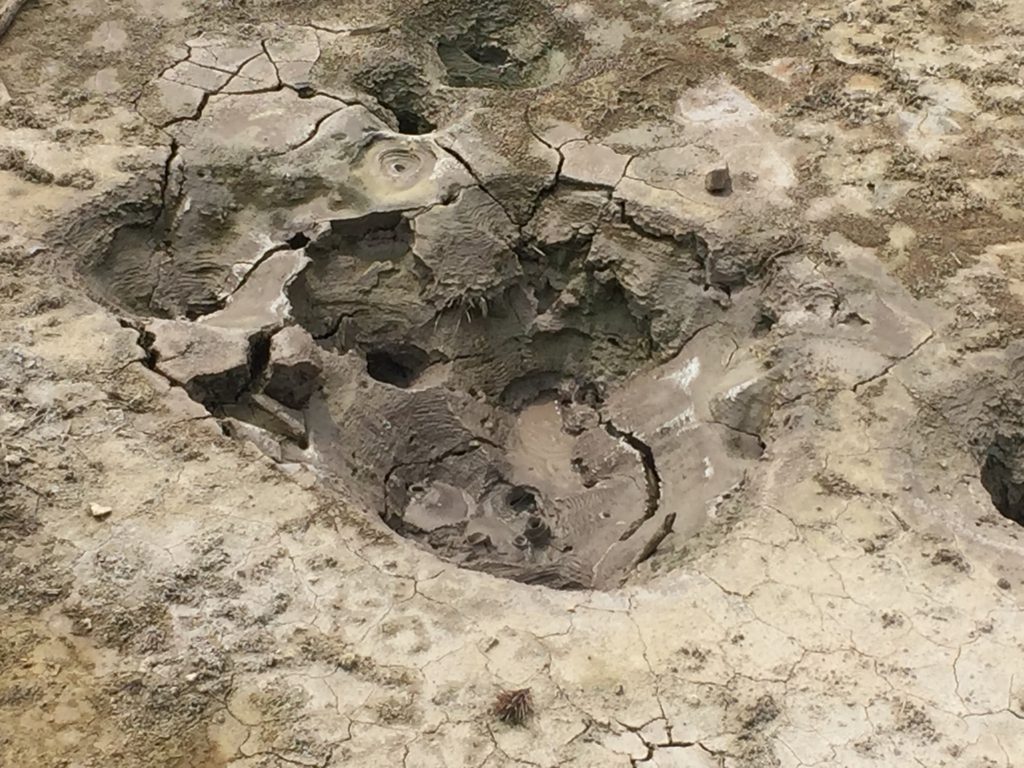
We spent part of the first day exploring the volcanic part of the park. We saw steam vents, geysers, boiling springs, boiling mud pots, and all kinds of things that you don’t see anywhere else. One of the things that surprised me was the life found everywhere. Even places where you would think nothing could survive have plants around them and microbes living around the edges.

2020 Vacation Trip (Days 1 & 2)

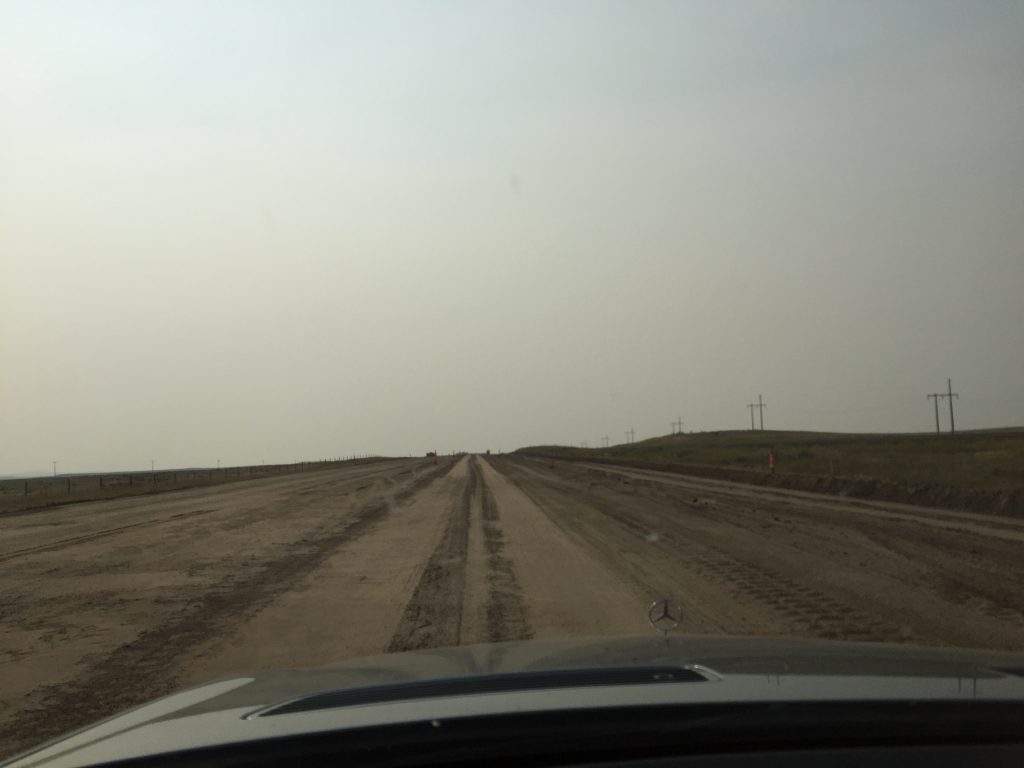
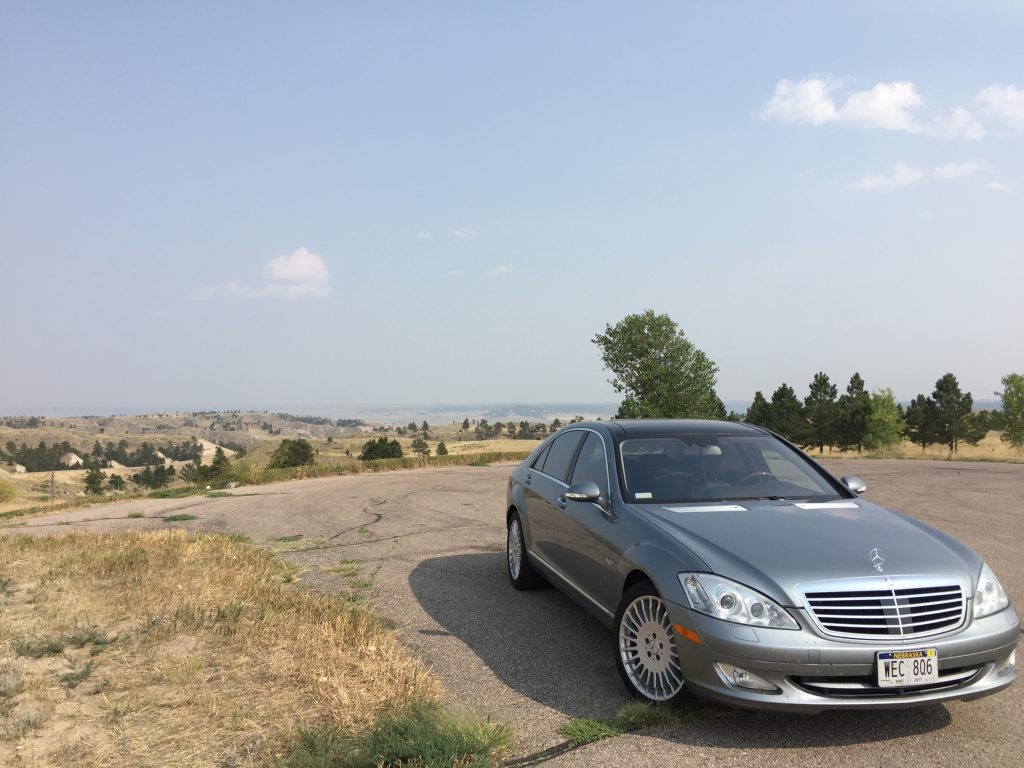
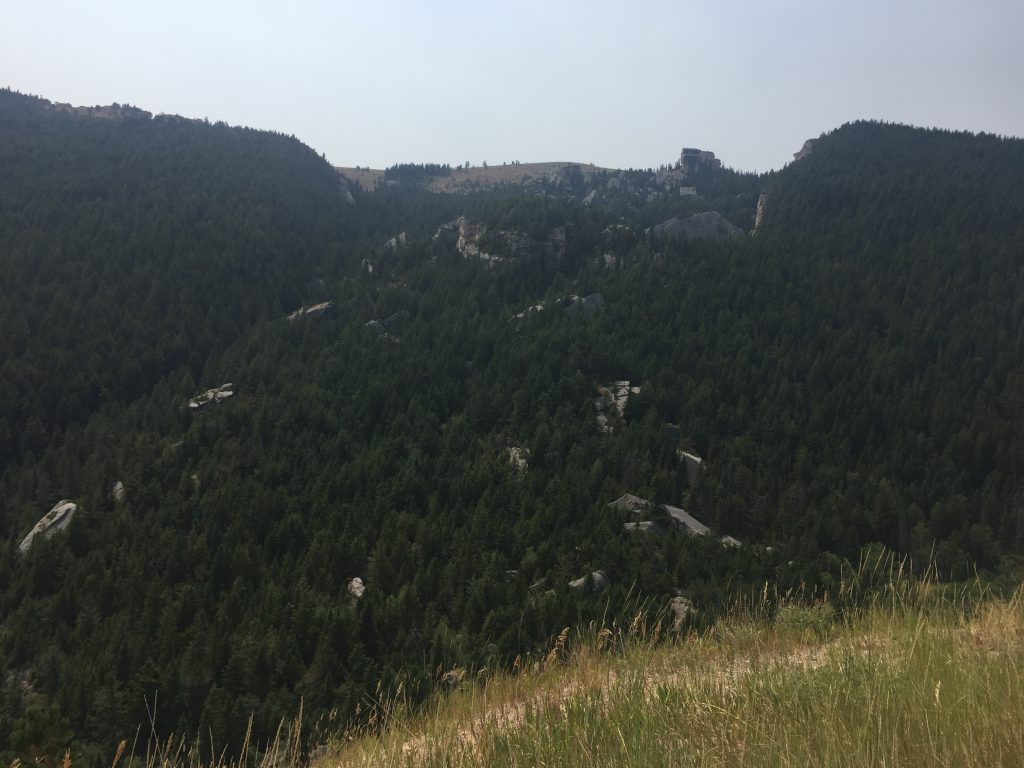
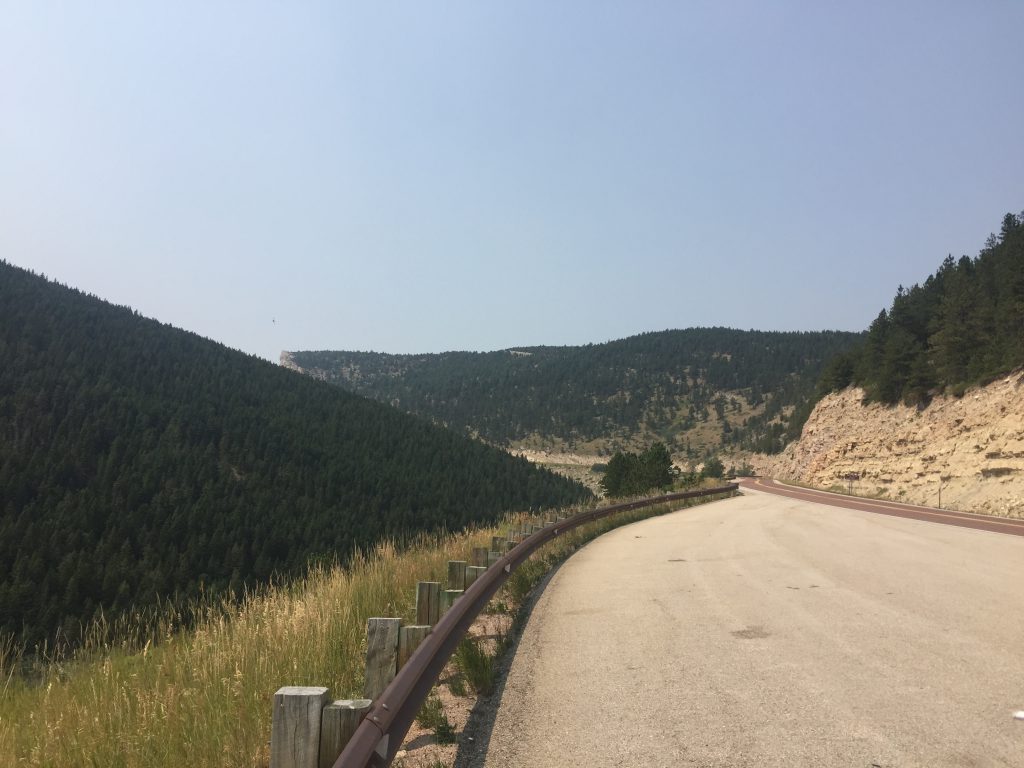
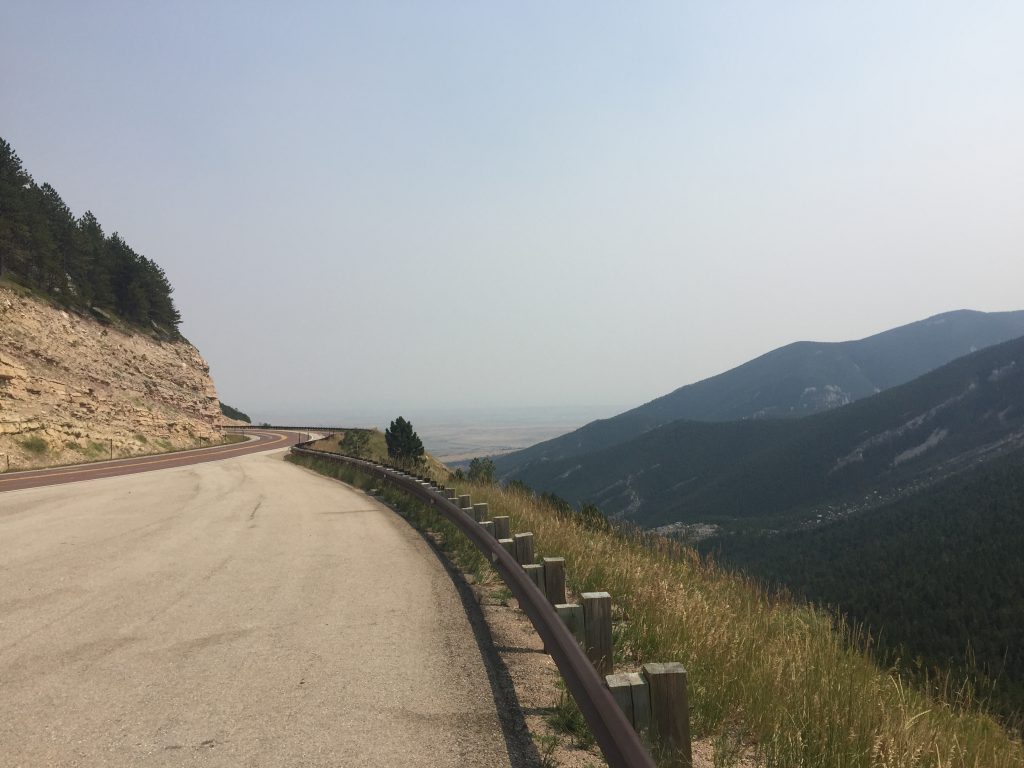
In late August we left on another road trip to the West. Our goal was to hit Yellowstone National Park, Devil’s Tower, and the Badlands including a stop at Mt. Rushmore. In all we were gone seven days and drove just a bit under 2,500 miles. Highway cruising in the Mercedes makes extended days of driving a pleasure.

We stopped in Powell, WY to visit with some of Lisa’s family. We enjoyed a wonderful dinner with Connie and Freddy and other family members before leaving for our first overnight stay in Cody, WY. The next morning it was on to Yellowstone.

Front brakes done

When I pulled the left front wheel to get access to the ABC accumulator and windshield washer pump, I was very surprised that the shop didn’t call out the front brakes. The rotor is worn significantly, and the pads looked like they had as little or less material than the rear brakes had (more on that later). I decided to go ahead and replace them — we’re launching on a week long road trip soon, planning to cover somewhere between 2 and 3 thousand miles, and I don’t want to have to worry about the brakes — or anything else, really.

A local Advance Auto Parts had the Akebono Euro pads I wanted to use to keep the front and rear pads the same. While they don’t carry Brembo rotors, I’m not as set on using those. The factory rotors are fine, as are (I’m sure) most others. With a nice little 20% off coupon code they emailed me, the total cost for pads and rotors was $167.75. I can re-use the wear sensor, since it hasn’t hit the rotor.

When I pulled the front pads, I found that they actually weren’t worn as much as I thought. Apparently the last time the brakes were serviced (at a Mercedes-Benz dealer, by the way) only the pads were replaced. I say that because the rotors had a good 3/32 or more wear, and the ridge around the outer edge of the rotor was overhanging the pad and made it look like they were much more worn than they looked. But, now we have nice new rotors and ceramic Akebono pads that will hopefully not turn the front of the car black with brake dust.

Suspension Done

One of the more expensive items on the shop estimate for the Mercedes was the suspension. The quote included replacing the front and rear accumulators and the pulsation damper as well as the pump. Finding no real evidence that the pump is actually leaking, I decided to defer that and replace the damper and accumulators.

I bought the new accumulators from FCP Euro for about $175 less than the shop quoted. The new damper came from M-B of Laredo at a $100 savings. The real heavy hitter was the pump; they quoted $1628, and I can buy it new from a dealer for $1106. There are rebuilt units out there for about half that, but I won’t criticize the shop for not wanting to use them. Given my experience with rebuilt mechanical parts, I wouldn’t use them either.

Shop quote: $3,612.72
Parts: $517.00 (after core charge for the damper, and including fluid)
Service bay: $200.00
Total cost: $717.00
Total savings: $2,913.72

To be fair, I’ll even knock the cost of the pump that I elected not to replace and a couple of hours shop labor off their quote. That brings it down to a $1073 savings. Not bad for four hours of work. But that’s just for now; I’m sure I’ll be replacing that pump at some point. Mine is seeping oil, though I believe it’s power steering fluid and not ABS fluid. But, it’s not urgent yet. I’ll put that down as deferred maintenance for the time being.